
Whipped Cream Without Heavy Cream Recipe
Introduction
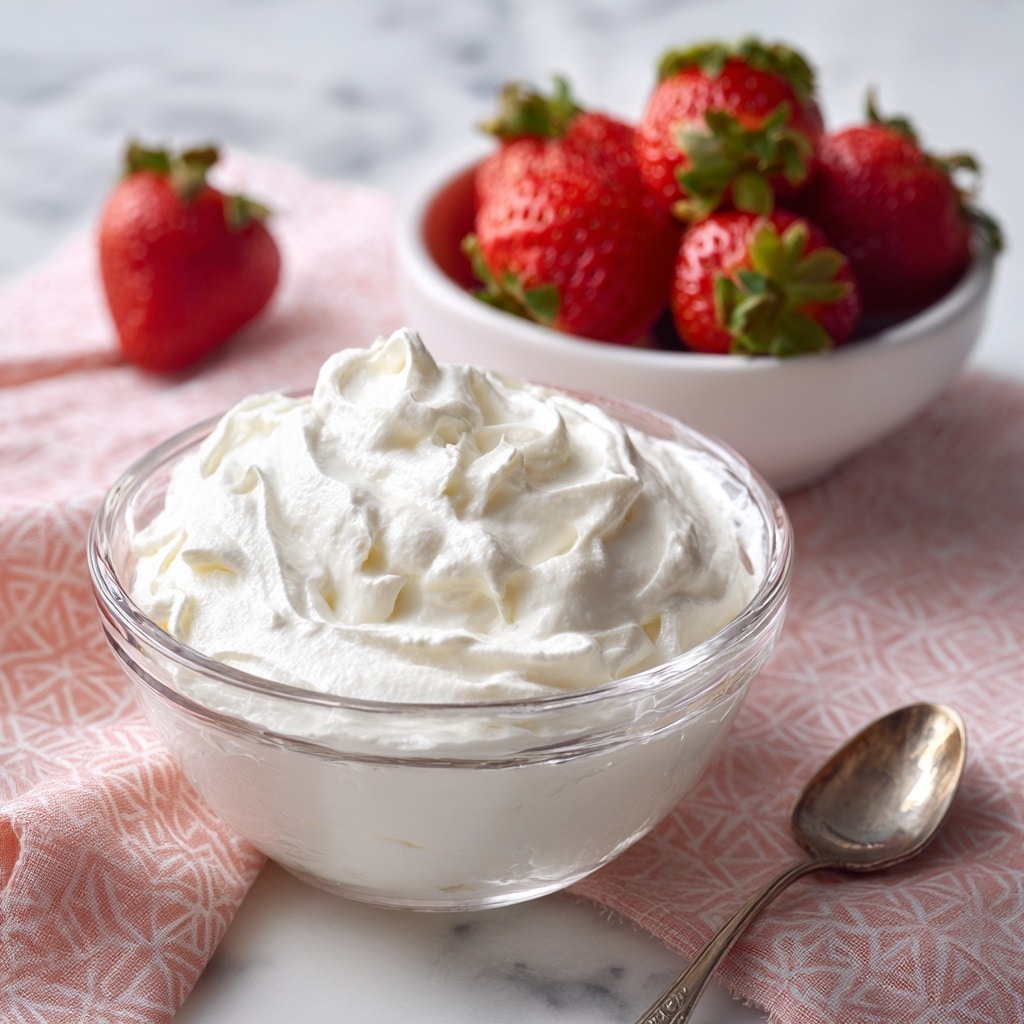
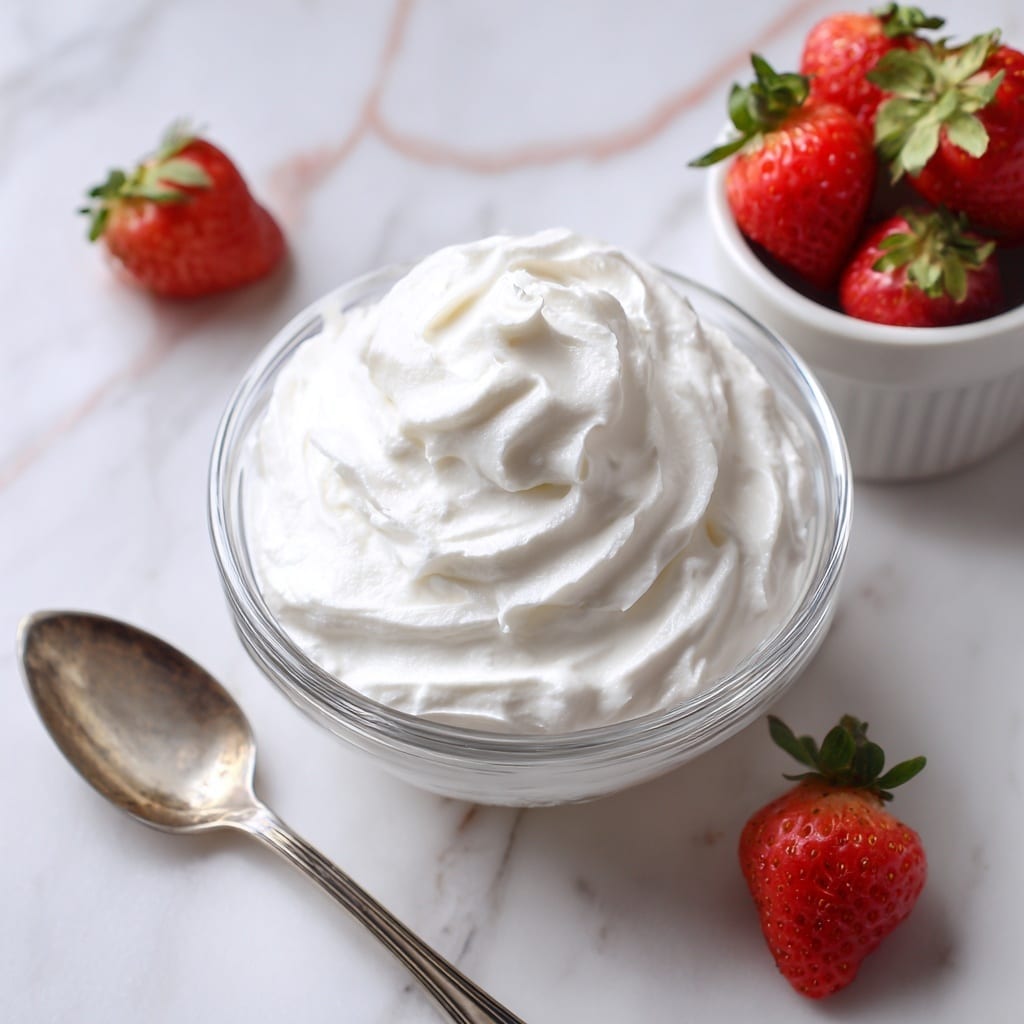
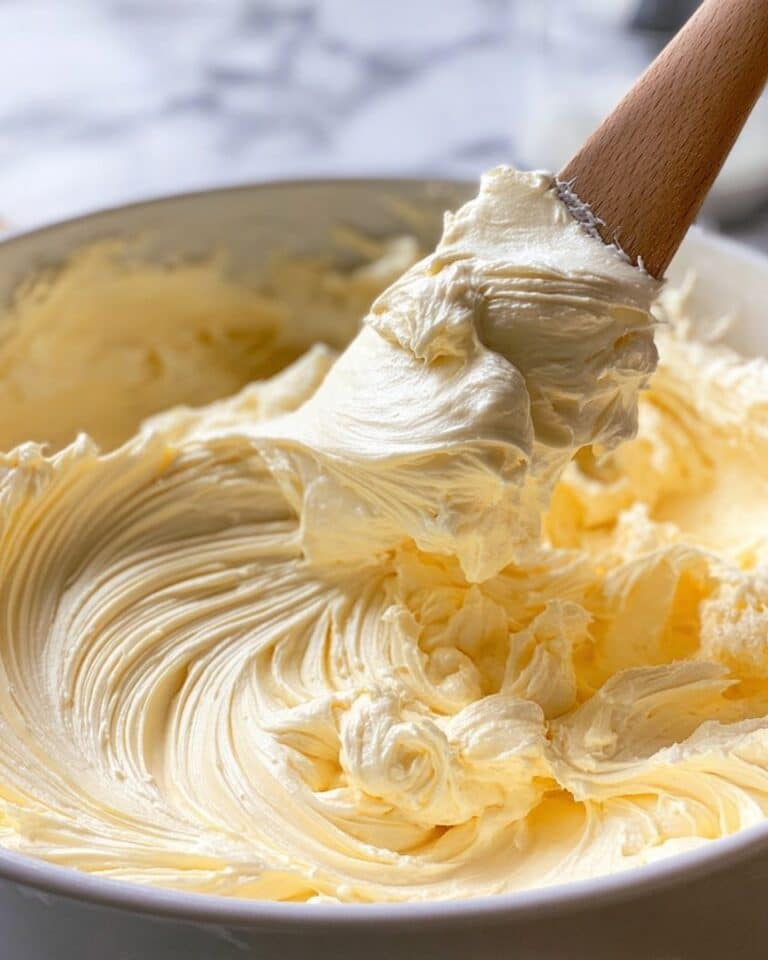
Whipped cream without heavy cream is a clever and delicious alternative when you don’t have heavy cream on hand. Using simple ingredients like milk and butter, you can create a light, fluffy topping perfect for desserts and drinks.
Ingredients
- ⅔ cup (5 fl oz / 150 ml) whole milk
- 10½ tablespoons (5¼ oz / 149 g) unsalted butter, diced
- 1 tablespoon granulated sugar (optional)
- ½ teaspoon vanilla extract (optional)
Instructions
- Step 1: In a small saucepan over medium heat or in the microwave, combine the milk and butter and heat until the butter fully melts.
- Step 2: Transfer the warm mixture to a blender and blend on the highest speed for 5 minutes. Every 30 seconds, lift the center of the blender cap slightly to release steam.
- Step 3: Pour the mixture into a small bowl and cover the surface directly with plastic wrap to prevent a skin from forming.
- Step 4: Allow the mixture to reach room temperature, then refrigerate for at least 4 hours or overnight.
- Step 5: If using, stir in the sugar and vanilla extract. Pour the mixture into a medium bowl and whip with a handheld electric mixer on high speed for 3–5 minutes until it reaches your desired stiffness.
- Step 6: Use the whipped cream immediately or refrigerate for up to 2 hours. Unwhipped cream can be stored in the refrigerator for up to 4 days.
Tips & Variations
- Use chilled whole milk for better whipping results.
- Adjust the sugar to taste or omit it for a less sweet cream.
- Try adding a splash of almond or coconut extract instead of vanilla for a different flavor.
Storage
Store any unused whipped cream in an airtight container in the refrigerator and use within 2 hours for best texture. The unwhipped milk and butter mixture lasts up to 4 days refrigerated and can be whipped fresh when needed.
How to Serve
Serve this delicious recipe with your favorite sides.
FAQs
Can I use low-fat milk instead of whole milk?
Whole milk provides the necessary fat content for proper whipping. Using low-fat milk may result in a thinner mixture that won’t whip well.
Why is the mixture blended for so long?
Blending the warm milk and melted butter thoroughly helps to emulsify the fats and liquids, creating a base that can be whipped into a creamy texture similar to heavy cream.
PrintWhipped Cream Without Heavy Cream Recipe

This recipe shows how to make whipped cream without using heavy cream by utilizing whole milk and butter. It’s a clever, homemade alternative that mimics the richness of traditional whipped cream, using simple ingredients and a blender to whip up a creamy, fluffy topping perfect for desserts and beverages.
- Prep Time: 10 minutes
- Cook Time: 5 minutes
- Total Time: 4 hours 15 minutes
- Yield: About 1 cup of whipped cream 1x
- Category: Dessert Topping
- Method: Blending
- Cuisine: American
- Diet: Vegetarian
Ingredients
Whipped Cream Ingredients
- ⅔ cup (5 fl oz / 150 ml) whole milk
- 10 ½ tablespoons (5 ¼ oz / 149 g) unsalted butter, diced
- 1 tablespoon granulated sugar (optional)
- ½ teaspoon vanilla extract (optional)
Instructions
- Combine and Heat Ingredients: In a small saucepan over medium heat or in the microwave, combine the whole milk and diced butter. Heat until the butter melts fully, ensuring a smooth mixture ready for blending.
- Blend the Mixture: Transfer the warm milk and butter mixture to a blender. Blend on the highest speed for 5 minutes. Every 30 seconds, carefully lift the center of the blender lid cap to release steam and prevent pressure build-up.
- Cool the Mixture: Pour the blended mixture into a small bowl. Place a piece of plastic wrap directly on the surface of the liquid to prevent a skin from forming as it cools down.
- Chill: Let the mixture come to room temperature, then refrigerate it for at least 4 hours or overnight to allow it to thicken and chill thoroughly.
- Sweeten and Whip: After chilling, stir in the sugar and vanilla extract if using. Pour the cold mixture into a medium bowl and use a handheld electric mixer to whip it on high speed for 3-5 minutes until it reaches the desired stiffness of whipped cream.
- Serve or Store: Use the whipped cream immediately as a topping or refrigerate for up to 2 hours. Note that the unwhipped mixture can be stored in the refrigerator for up to 4 days.
Notes
- Be careful when blending hot liquids; release steam regularly to prevent any pressure buildup inside the blender.
- Plastic wrap placed directly on the mixture’s surface prevents a skin from forming, ensuring smooth texture.
- Whipped cream made this way is best used fresh but can be stored briefly in the refrigerator.
- Optional sugar and vanilla extract enhance flavor but can be omitted for a plain whipped cream.
- Use unsalted butter for better control over saltiness.
Keywords: whipped cream without heavy cream, homemade whipped cream, dairy whipped cream substitute, simple whipped topping


