
The Perfect Salt Dough Recipe
Introduction
Creating your own salt dough is a fun and simple craft project perfect for all ages. This versatile dough is easy to make at home with common ingredients and can be shaped, painted, and baked to create lasting keepsakes.

Ingredients
- 2 cups all-purpose flour
- 1 cup salt
- 1/2 cup white acrylic paint
- 1/2 cup water
Instructions
- Step 1: In a large bowl, combine 2 cups of all-purpose flour and 1 cup of salt. Mix well and set aside.
- Step 2: In a separate bowl, mix 1/2 cup of white acrylic paint with 1/2 cup of water until smooth.
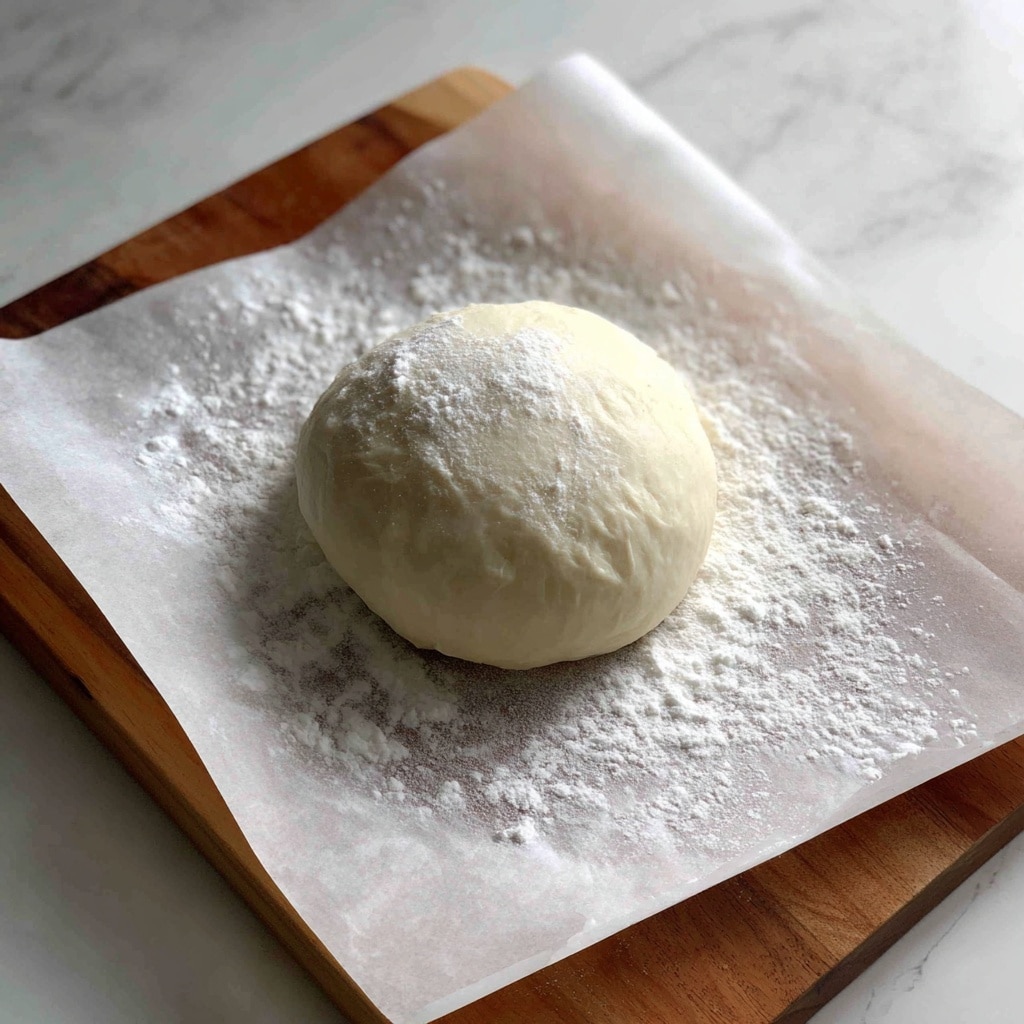
- Step 3: Gradually add the wet mixture to the dry ingredients, stirring continuously until a dough ball starts to form. Adjust the amount of water or flour if needed to achieve a workable dough consistency.
- Step 4: Knead the dough on a clean surface until thoroughly mixed and smooth, about 5 to 7 minutes.
- Step 5: Your salt dough is now ready to be shaped and crafted as desired.
Tips & Variations
- For added color, substitute the white acrylic paint with any colored acrylic paint of your choice.
- If the dough feels too sticky, add small amounts of flour until manageable.
- To preserve your creations, bake the shaped dough at a low temperature (around 200°F or 90°C) for 2-3 hours or until fully hardened.
Storage
Store unused dough in an airtight container or sealed plastic bag in the refrigerator to keep it fresh for up to one week. When ready to use, allow it to come to room temperature and knead briefly before shaping.
How to Serve
Serve this delicious recipe with your favorite sides.
FAQs
Can I use other types of paint than acrylic for this salt dough?
Acrylic paint works best because it mixes well without affecting dough texture. Other paints may not blend properly and could affect drying or durability.
How do I harden my salt dough creations?
The best way to harden your salt dough is by baking it at a low temperature (about 200°F or 90°C) for several hours until dry and firm. Avoid high heat as it can cause cracking or browning.
PrintThe Perfect Salt Dough Recipe
Create your own colorful and easy salt dough with this simple recipe, perfect for crafting homemade decorations and keepsakes. Using basic ingredients like flour, salt, water, and white acrylic paint, this dough is pliable and durable once dried, making it ideal for arts and crafts projects.
- Prep Time: 10 mins
- Cook Time: 0 mins (optional baking time varies)
- Total Time: 10 mins (plus drying or baking time as needed)
- Yield: Approximately enough dough for several small to medium-sized craft projects
- Category: Crafting Dough
- Method: No-Cook
- Cuisine: Universal
Ingredients
Dry Ingredients
- 2 cups All-Purpose Flour
- 1 cup Salt
Wet Ingredients
- 1/2 cup White Acrylic Paint
- 1/2 cup Water
Instructions
- Mix Dry Ingredients: In a large bowl, combine 2 cups of all-purpose flour and 1 cup of salt. Stir them together thoroughly and set aside.
- Prepare Wet Mixture: In a separate bowl, mix 1/2 cup of white acrylic paint with 1/2 cup of water until well blended.
- Combine Wet and Dry: Slowly add the wet mixture to the dry ingredients, stirring continuously until a dough ball starts to form. You may need to adjust the water or flour slightly to reach the best dough consistency.
- Knead the Dough: Turn the dough onto a clean surface and knead it thoroughly until smooth and workable, ensuring all ingredients are fully incorporated.
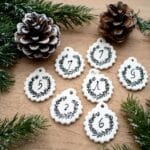
- Shape and Craft: Your salt dough is now ready to be shaped into ornaments, figurines, or other creative crafts. Allow your creations to air dry or bake them for added durability based on your project needs.
Notes
- Adding white acrylic paint gives the dough a nice color and helps it stay opaque.
- If the dough is too sticky, add a little more flour; if too dry, add small amounts of water.
- Let finished items air dry for at least 24 hours or bake at 200°F (93°C) for 2-3 hours for faster hardening.
- Store leftover dough in an airtight container or plastic wrap to prevent drying out.
- Once dry, decorations can be painted, sealed, or varnished for added durability and finish.
Keywords: salt dough recipe, craft dough, DIY salt dough, homemade dough, kids crafts, easy crafting dough


