
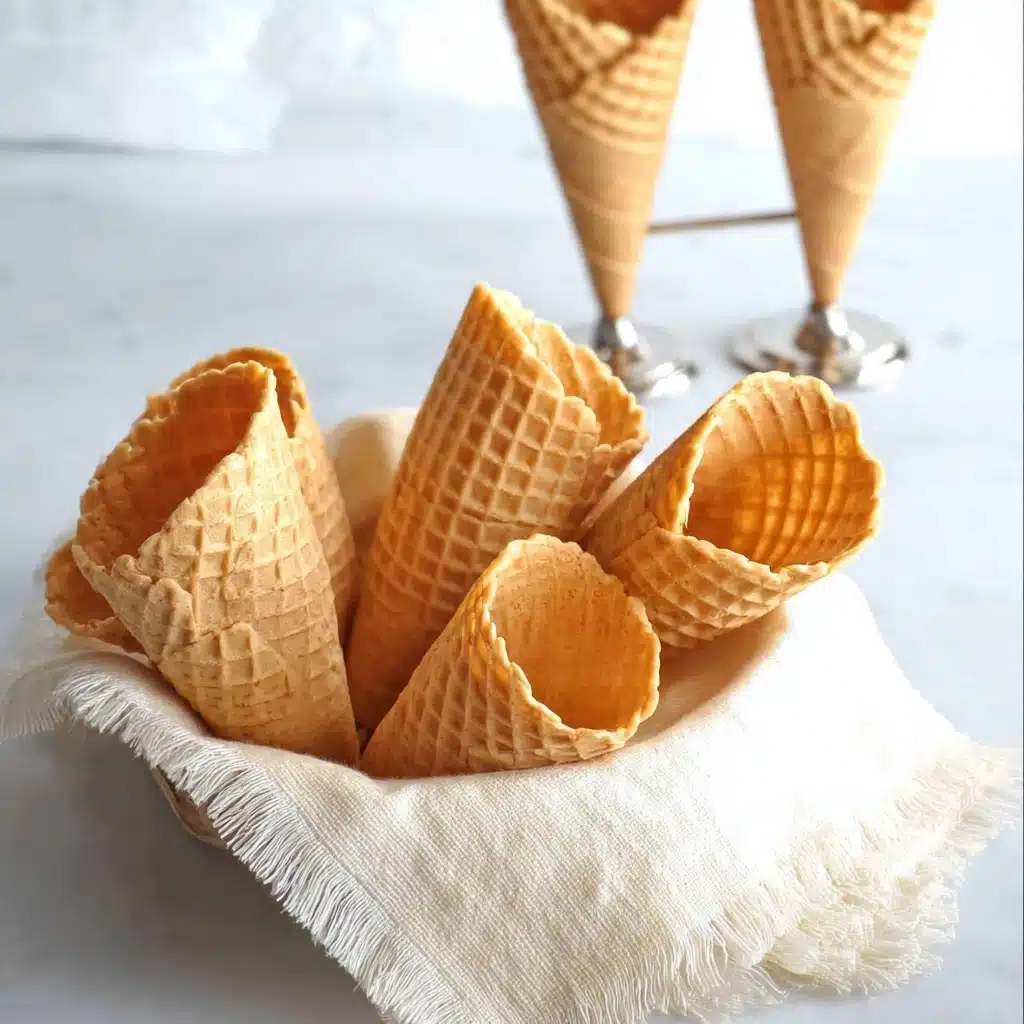
Homemade Waffle Cones (Adapted from David Lebovitz’s The Perfect Scoop)
If you have ever dreamed of elevating your ice cream experience, these homemade waffle cones from David Lebovitz’s The Perfect Scoop are an absolute game-changer. Crisp, sweet, and incredibly satisfying, they add a fresh and delightful crunch that you simply cannot get from store-bought cones. Crafted with simple ingredients and a touch of technique, this recipe turns a humble waffle cone into a work of edible art that perfectly cradles your favorite scoop of ice cream.
Ingredients You’ll Need
Don’t let the short list of ingredients fool you—the magic is in how these fundamentals come together to create that perfect balance of sweetness and texture. Each element plays a vital role: the egg whites give structure, sugar balances flavor, butter adds richness, and the vanilla extract provides that warm, inviting aroma.
- Egg whites (1/4 cup, from 2 large eggs): This creates a light and airy batter essential for crispiness.
- Granulated sugar (7 Tablespoons, 3 ounces, 85 grams): Sweetens the cones perfectly without overpowering.
- Vanilla extract (1/2 teaspoon): Adds a fragrant, cozy note that makes the cones irresistible.
- Salt (1/8 teaspoon): Balances the sweetness and enhances all the flavors.
- All-purpose flour (2/3 cup, 3.18 ounces, 90 grams): The structure-builder that gives the cones their shape and bite.
- Unsalted butter (2 Tablespoons, 1 ounce, 30 grams), melted and cooled: Brings richness and subtle moisture.
- Chocolate chips (24 chips): Used to seal the cone bottoms, adding a fun and tasty surprise inside.
How to Make Homemade Waffle Cones (Adapted from David Lebovitz’s The Perfect Scoop)
Step 1: Preheat and Prepare the Waffle Cone Machine
Begin by heating your waffle cone maker to approximately a color setting of 4, which ensures the cones cook evenly and develop that perfect golden hue. Lightly brush both sides with oil to prevent sticking and help achieve that crisp exterior we all crave. This foundational step makes your life much easier and your cones flawless in texture.
Step 2: Mix the Batter
In a small bowl, whisk the egg whites, sugar, and vanilla extract until fully combined. Adding salt next helps balance the sweetness. Incorporate half of the flour and beat until blended. Follow with the melted butter and the remaining flour, mixing until the batter is smooth and cohesive. This process is vital because it ensures your batter has the right consistency for crisp, thin cones that hold their shape beautifully.
Step 3: Cook the Waffle
Dollop about 2 tablespoons of batter directly onto the center of the hot waffle cone machine. Close the lid and lock it in place—this step ensures the batter spreads and cooks evenly. Bake it for 1 minute and 30 seconds, then check the color; adjust the timing slightly if needed to get that perfect crispness. Paying attention here means you avoid undercooked or burnt cones, setting you up for success.
Step 4: Shape the Cones
Carefully lift the freshly cooked waffle off the machine using a wooden fork and transfer it to a clean cloth towel. Quickly, but gently, roll the waffle around your cone form using the cloth to protect your hands from the heat. Pinch the bottom and hold for about 10 seconds to lock in the shape. This step is where you transform a flat waffle into a glorious cone ready to hold all that delicious ice cream.
Step 5: Seal the Bottom with Chocolate Chips
Drop several chocolate chips inside the narrow end of your cone and use a small dowel or similar tool to push them to the bottom, sealing the cone to prevent drips. Allow the chocolate to cool and harden fully, creating a delightful surprise that adds both flavor and function. This simple addition from David Lebovitz’s The Perfect Scoop enhances your cones with a touch of indulgence.
Step 6: Cool and Store
Let your cones cool completely on a rack to preserve their crispness. Once cooled, store them in an airtight container to keep them fresh until you’re ready to enjoy. This step is crucial because any lingering moisture can soften those wonderfully crunchy cones.
How to Serve Homemade Waffle Cones (Adapted from David Lebovitz’s The Perfect Scoop)
Garnishes
Homemade waffle cones are fantastic on their own, but adding a sprinkle of sea salt, crushed nuts, or drizzled chocolate around the rim offers texture and flavor contrasts that wow guests and family alike. These simple garnishes elevate your presentation and flavor complexity even more.
Side Dishes
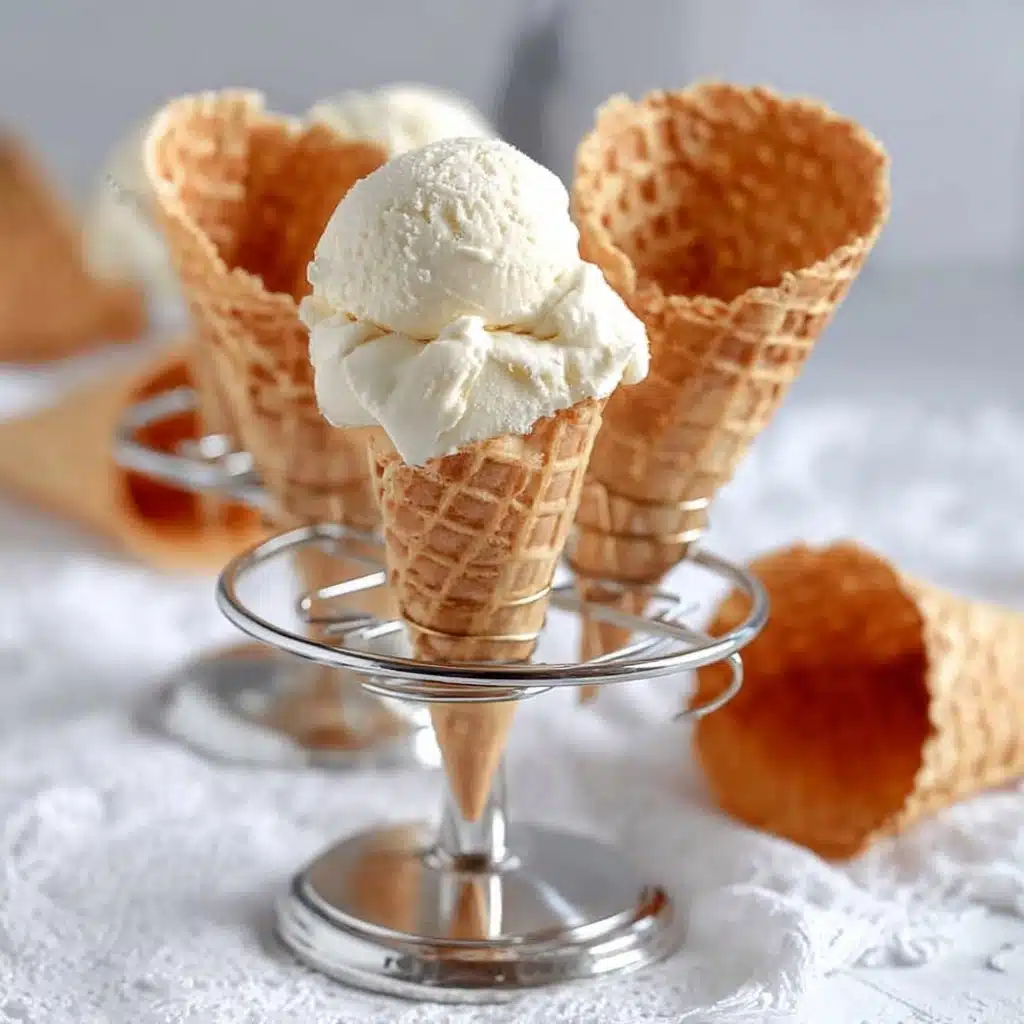
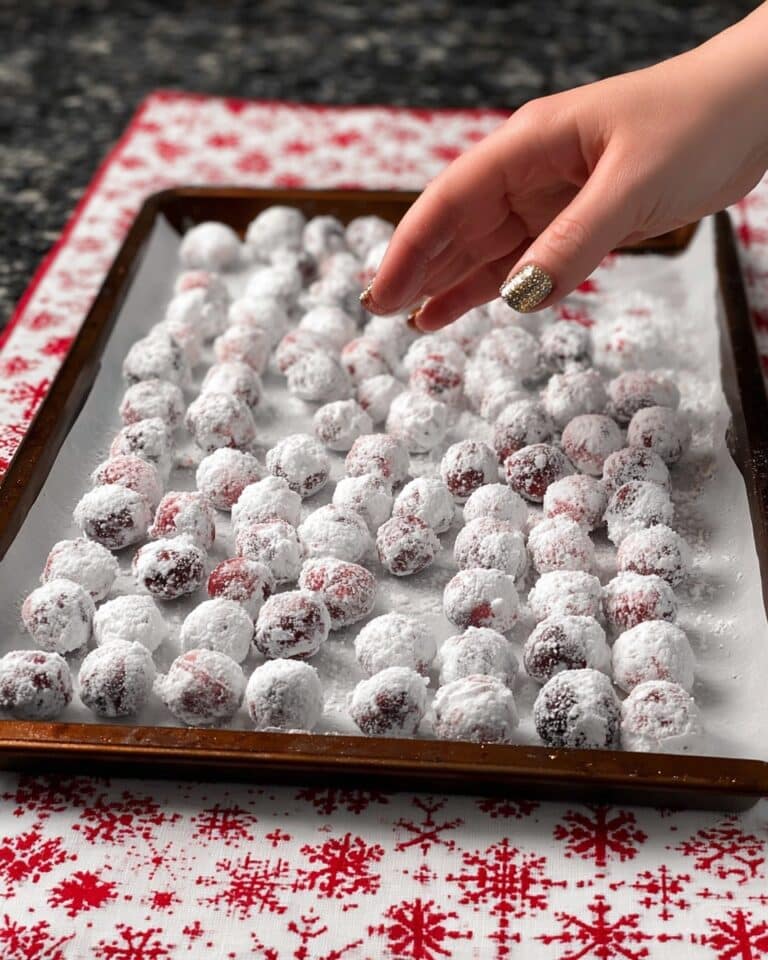
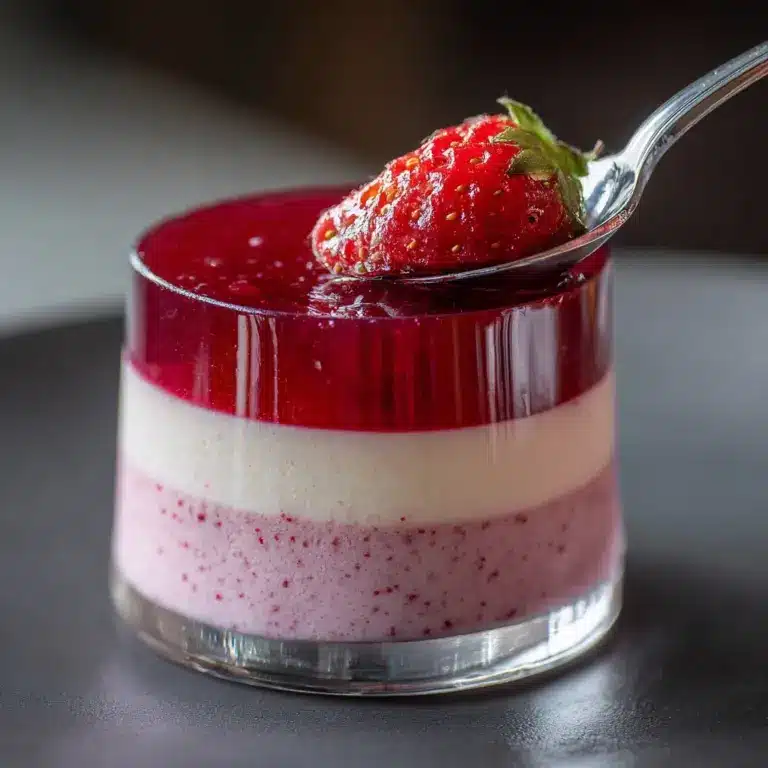
Pair your cones with classic scoops of ice cream or sorbet to keep it simple and pure. If you’re feeling adventurous, fresh berries or a spoonful of fruit compote make delightful accompaniments that bring brightness and balance to the sweetness of the cones.
Creative Ways to Present
Try serving your cones in a rustic wooden stand or nestled inside clear glass jars for a charming display. For gatherings, fill them with mini ice cream scoops or even savory treats for an unexpected twist. Presentation can truly turn this homemade joy into a show-stopping centerpiece.
Make Ahead and Storage
Storing Leftovers
If you manage to have any cones left over, store them in an airtight container at room temperature. This keeps them crisp and ready for use for several days, perfect for planning ahead or stocking up.
Freezing
While you can freeze these cones, keep in mind that moisture from thawing can impact their crunchiness. If freezing, pack them airtight and try to use them within a month. When ready, let them thaw at room temperature without opening the container to minimize humidity exposure.
Reheating
To refresh cones that have softened slightly, a quick blast in a preheated oven at 300°F (150°C) for 3-5 minutes can restore some crispiness. Be careful not to overheat, as they can become brittle or burn easily.
FAQs
Can I use whole eggs instead of just egg whites?
This recipe relies on egg whites to create a light and crisp texture, so substituting with whole eggs will make the cones denser and less crisp. For best results, stick with egg whites only.
What if I don’t have a waffle cone machine?
While a waffle cone machine produces the best texture and shape, you can try using a regular pizzelle maker or even a thin waffle iron. Just be mindful that cooking times and shaping might vary.
How long do homemade waffle cones stay fresh?
Stored properly in an airtight container, homemade waffle cones will stay crisp for up to a week. Beyond that, their texture may start to soften due to moisture in the air.
Can I make these cones ahead for a party?
Absolutely! Making them a day or two in advance is perfectly fine, just keep them sealed tightly to maintain their crispness until serving time.
Is it necessary to seal the cone bottoms with chocolate chips?
Sealing the bottoms with chocolate chips helps prevent drips and adds a delicious surprise, but if you prefer, you can skip this step. Just be prepared for a slightly messier ice cream experience.
Final Thoughts
Trying these homemade waffle cones from David Lebovitz’s The Perfect Scoop will transform your ice cream moments into something truly memorable. With just a handful of simple ingredients and a bit of care, you’ll create crunchy, fragrant cones that put any store-bought version to shame. Trust me, once you make your own, you’ll never want to go back!
PrintHomemade Waffle Cones (Adapted from David Lebovitz’s The Perfect Scoop)

These Homemade Waffle Cones, adapted from David Lebovitz’s The Perfect Scoop, are crisp, buttery, and perfectly sweet cones that you can easily make at home using a waffle cone maker. They come with the delightful surprise of a chocolate chip sealed bottom, making them perfect for serving your favorite ice cream in style.
- Prep Time: 10 minutes
- Cook Time: 12 minutes
- Total Time: 22 minutes
- Yield: 8 waffle cones 1x
- Category: Dessert
- Method: Baking and rolling
- Cuisine: American
- Diet: Vegetarian
Ingredients
Waffle Cone Batter
- 1/4 cup egg whites (from 2 large eggs)
- 7 tablespoons (3 ounces, 85 grams) granulated sugar
- 1/2 teaspoon vanilla extract
- 1/8 teaspoon salt
- 2/3 cup (3.18 ounces, 90 grams) all-purpose flour
- 2 tablespoons (1 ounce, 30 grams) unsalted butter, melted and cooled
Seal and Finish
- 24 chocolate chips
Instructions
- Preheat Waffle Cone Machine: Preheat your waffle cone machine to a medium setting of around 4. Brush both sides lightly with oil to prevent sticking.
- Make the Batter: In a small mixing bowl, whisk together the egg whites, granulated sugar, and vanilla extract until combined. Add salt and half of the flour, beating until incorporated. Then add the melted butter and the remaining flour; whisk until the batter is smooth and uniform.
- Bake the Waffles: Spoon 2 tablespoons of batter onto the center of the hot waffle cone machine. Close the lid, lock the latch, and bake for 1 minute and 30 seconds. Check the color and adjust timing if necessary to avoid burning or undercooking.
- Shape the Cones: Using a wooden fork, carefully lift the baked waffle from the machine onto a clean cloth towel. Immediately use the cloth to pick up the waffle and roll it around a cone form. Pinch the bottom of the cone and hold for about 10 seconds to help it set its shape.
- Seal with Chocolate: Drop several chocolate chips into the formed cone and push down with a small dowel or skewer to the bottom. This will seal the bottom of the cone and prevent leaks. Allow cones to cool completely on a wire rack.
- Store and Serve: Once fully cooled, store the waffle cones in an airtight container to maintain crispness. These cones yield approximately 8 homemade waffle cones, perfect for serving your favorite ice cream.
Notes
- Adjust the baking time according to your waffle cone machine’s heat; the cones should be golden brown and crisp.
- Roll the waffle cones immediately after baking, as they harden quickly once cooled.
- The chocolate chip seal not only adds flavor but prevents melted ice cream from dripping out of the bottom.
- Store cones in an airtight container at room temperature for up to 3 days for optimal freshness.
Nutrition
- Serving Size: 1 waffle cone
- Calories: 120
- Sugar: 9g
- Sodium: 45mg
- Fat: 4.5g
- Saturated Fat: 2.5g
- Unsaturated Fat: 2g
- Trans Fat: 0g
- Carbohydrates: 18g
- Fiber: 0.5g
- Protein: 2g
- Cholesterol: 10mg
Keywords: waffle cones, homemade waffle cones, ice cream cones, dessert cones, waffle cone recipe, David Lebovitz waffle cones

