
Food Processor Pie Crust Recipe
If you’ve ever wished for a pie crust that’s perfectly flaky, buttery, and remarkably quick to make, then you’re going to love this Food Processor Pie Crust Recipe. It’s a game changer in the kitchen, turning the sometimes intimidating task of pie crust preparation into an effortless and enjoyable experience. With just a handful of simple ingredients and your trusty food processor, you can whip up a crust that’s tender, golden, and ready to cradle any filling you desire. Whether you’re a seasoned baker or trying your hand at pie for the first time, this Food Processor Pie Crust Recipe will have you crafting mouthwatering pies in no time.

Ingredients You’ll Need
The beauty of this Food Processor Pie Crust Recipe is in its simplicity, relying on a few essential ingredients that each play an important role. From the flour providing structure to the cold butter lending that coveted flakiness, every element combines to create the perfect foundation for your pie masterpiece.
- 2 ½ cups all-purpose flour: The backbone of your crust, providing the necessary gluten to hold the dough together while staying tender.
- 1 tablespoon granulated sugar (optional): Adds a subtle sweetness and helps with browning—feel free to skip if you prefer a neutral crust.
- 1 teaspoon salt: Enhances all the flavors; never underestimate the power of salt in baking.
- 1 cup unsalted butter (ice cold and cubed): The star ingredient for flakiness, cold butter creates those irresistible buttery pockets.
- ⅓ cup ice water: Brings the dough together without melting the butter, ensuring tender layers.
How to Make Food Processor Pie Crust Recipe
Step 1: Prepare Your Butter and Water
Start by cubing your unsalted butter and popping it in the freezer for about 15 minutes. Keeping the butter ice-cold is essential — it prevents it from melting prematurely so that your crust will puff up beautifully when baked. Meanwhile, add ice cubes to your water and chill it; the colder, the better for adding the right moisture without warming up the butter.
Step 2: Combine Dry Ingredients in the Food Processor
Fit your food processor with the metal blade and toss in the flour, sugar if using, and salt. Give these a few quick pulses to mix everything evenly without over-processing. This step ensures your seasoning is distributed well before the butter comes in.
Step 3: Incorporate Butter Until Pea-Sized Chunks Form
Add the cold butter cubes and pulse until the mixture resembles coarse gravel or peas. This texture is the secret to a flaky crust — those little bits of butter create steam pockets during baking, giving the pie its signature lightness.
Step 4: Add Ice Water Gradually
Switch on the processor and slowly drizzle in the ice water. Watch as the mixture begins to come together. Be careful not to let it form a large ball. Stop pulsing as soon as the dough starts to clump — you want it just beginning to hold shape, but still crumbly.
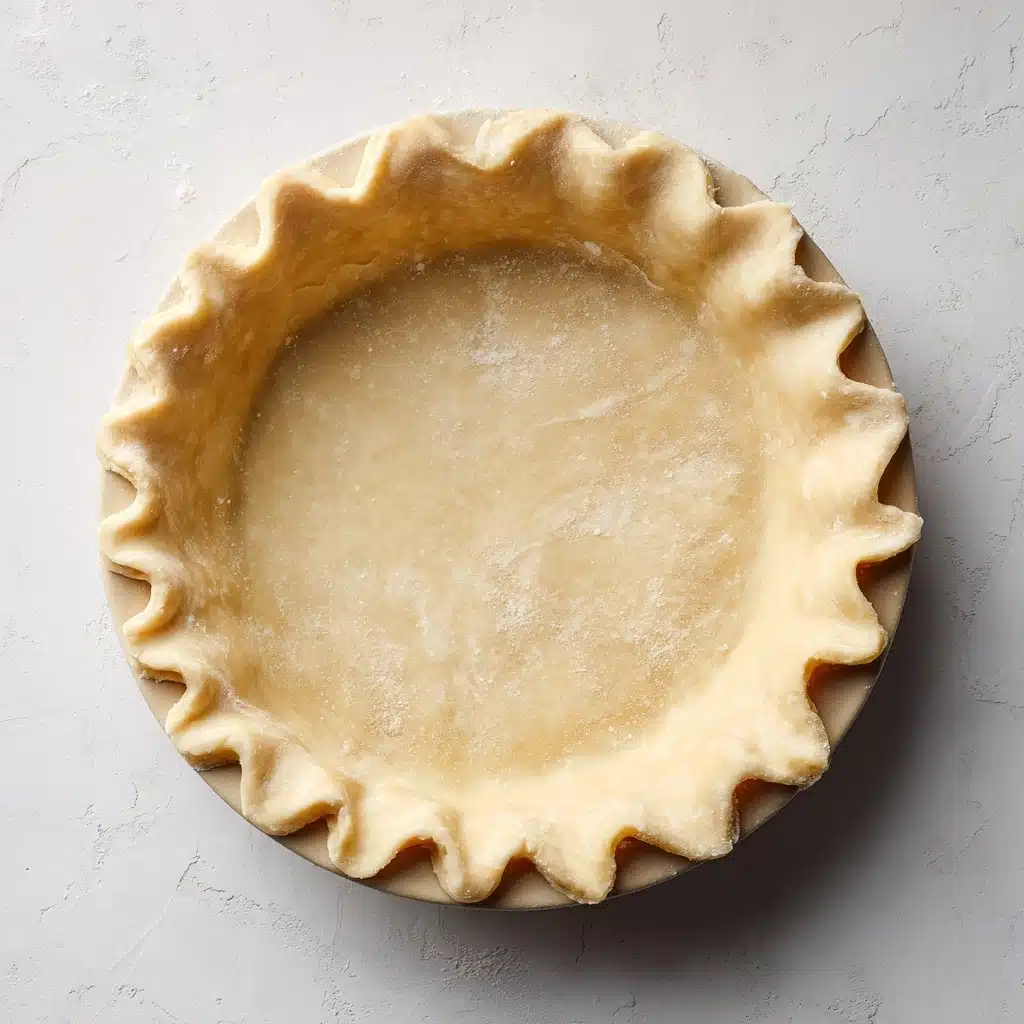
Step 5: Shape, Chill, and Roll Out
Dump the dough onto a clean countertop and gently form it into two equal disks. Wrap each tightly in plastic wrap and refrigerate for at least an hour. Chilling is crucial because it lets the fats solidify again, strengthening the dough and preventing shrinkage during baking. When ready, roll out your dough on a lightly floured surface and proceed with your favorite pie recipe.
How to Serve Food Processor Pie Crust Recipe
Garnishes
Though the crust itself is a star, consider brushing it with a simple egg wash before baking to add a shiny, golden finish. After baking, a dusting of powdered sugar or a scattering of fresh berries can elevate your pie’s presentation instantly.
Side Dishes
A warm slice of pie made with this crust pairs beautifully with a scoop of vanilla ice cream or a dollop of fresh whipped cream. For savory pies, consider fresh green salads or roasted vegetables to balance the richness.
Creative Ways to Present
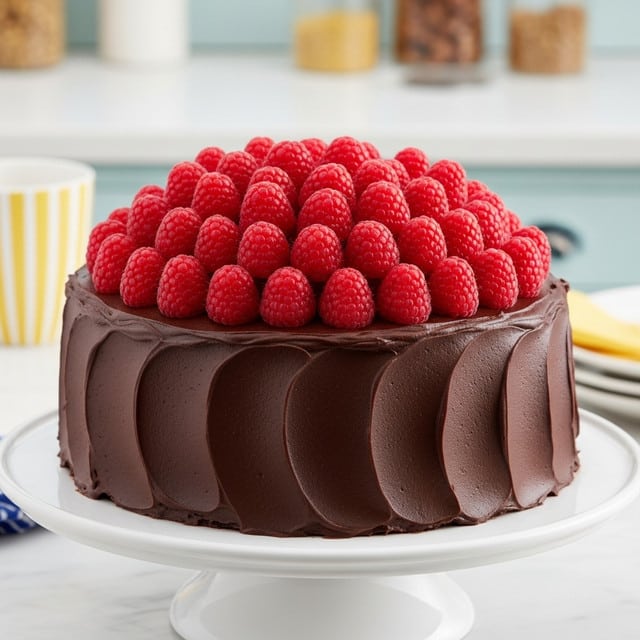
Think beyond the traditional pie! Use this crust as individual tart shells for mini pies, or cut into shapes for decorative lattice tops. You can even bake the crust separately as a crunchy base for layered desserts or cheesecakes, highlighting its buttery flavor and flaky texture.
Make Ahead and Storage
Storing Leftovers
If you have leftover dough, wrap it tightly in plastic wrap and refrigerate for up to two days. This allows you to bake fresh crust whenever a craving strikes without redoing the whole process.
Freezing
For longer storage, freeze the dough disks wrapped in plastic wrap and placed inside an airtight bag for up to three months. Thaw them overnight in the fridge before rolling out to maintain perfect consistency.
Reheating
Once baked, pie crust is best enjoyed fresh. However, you can reheat slices gently in a low oven (about 300℉) to revive crispness without drying out the crust.
FAQs
Can I make this Food Processor Pie Crust Recipe without a food processor?
Absolutely! While the food processor makes the process quick and effortless, you can cut the butter into the flour using a pastry cutter or two knives, then add ice water by hand. It’ll just take a bit more elbow grease.
Why is cold butter so important in this recipe?
Cold butter creates pockets in the dough that steam during baking, resulting in that signature flaky texture. If the butter melts before baking, the crust can turn out dense and tough.
Can I substitute butter with shortening or margarine?
You can use these substitutes, but butter provides the best flavor and texture. Shortening tends to make the crust tender but less flavorful, while margarine’s water content can affect dough consistency.
How can I prevent my pie crust from shrinking during baking?
Chilling the dough thoroughly before baking is key. Also, avoid stretching the dough when placing it in the pan and consider using pie weights during blind baking to keep the shape intact.
Is it necessary to use sugar in the crust?
Sugar is optional and mostly adds a hint of sweetness and helps with browning. For savory pies, you can skip it to keep the crust neutral.
Final Thoughts
This Food Processor Pie Crust Recipe has transformed my approach to pie making, making it a quick, reliable, and delicious foundation for any pie adventure. Once you master this technique, you’ll never want to buy store-bought crust again. Grab your food processor and ingredients, and start baking your way to flaky, buttery bliss today!
PrintFood Processor Pie Crust Recipe

This Food Processor Pie Crust Recipe offers a quick and easy way to prepare a flaky, buttery pie crust using a food processor. Perfect for both sweet and savory pies, this recipe simplifies the traditional pie crust-making process while delivering a tender and crisp result every time.
- Prep Time: 20 minutes
- Cook Time: 30 minutes (if blind baking)
- Total Time: 1 hour 50 minutes including chilling
- Yield: One 9-inch double crust pie or two 9-inch single crusts 1x
- Category: Baking
- Method: Food Processor
- Cuisine: American
- Diet: Vegetarian
Ingredients
Dry Ingredients
- 2 ½ cups all-purpose flour
- 1 tablespoon granulated sugar (optional)
- 1 teaspoon salt
Wet Ingredients
- 1 cup unsalted butter (ice cold and cut into cubes)
- ⅓ cup ice water
Instructions
- Prepare Butter and Ice Water: Cut the unsalted butter into cubes and place them in the freezer for 15 minutes to chill. Meanwhile, add ice cubes to the water and place it in the freezer for a few minutes to keep it icy cold.
- Assemble Food Processor: Fit a metal blade into the food processor bowl to prepare it for mixing.
- Combine Dry Ingredients: Add the all-purpose flour, granulated sugar (if using), and salt into the food processor. Pulse a few times to evenly combine these dry ingredients.
- Add Butter: Add the chilled, cubed butter to the flour mixture. Pulse repeatedly until the mixture resembles coarse gravel or small peas, where butter pieces are still visible to create flakiness.
- Add Ice Water Gradually: With the processor running, slowly pour in the ice water until the dough starts to come together. Be careful not to overmix or form a solid ball.
- Form Dough Disks: Turn the dough out onto a clean countertop and gently form it into two equal-sized disks without overworking the dough.
- Chill the Dough: Wrap the dough disks tightly in plastic wrap and chill them in the refrigerator for at least one hour, allowing the gluten to relax and the butter to firm up.
- Roll Out and Use: On a lightly floured surface, roll out the dough as needed for your pie. For baked crusts, blind bake with pie weights at 375℉ for 15 minutes, then remove weights and continue baking until golden, about 15 minutes more. For no-bake pies, proceed according to your filling instructions.
Notes
- Use ice cold butter and water to ensure a flaky crust.
- Do not overmix the dough; it should come together but not form a tight ball.
- Chilling the dough is crucial for preventing shrinkage during baking.
- The sugar is optional and can be omitted for savory pies.
- If you don’t have a food processor, you can cut butter into flour by hand using a pastry cutter.
- Store unused dough tightly wrapped in the fridge for up to 3 days or freeze for up to 1 month.
Nutrition
- Serving Size: 1/8 of the pie crust
- Calories: 210
- Sugar: 1 g
- Sodium: 150 mg
- Fat: 14 g
- Saturated Fat: 8 g
- Unsaturated Fat: 5 g
- Trans Fat: 0 g
- Carbohydrates: 20 g
- Fiber: 1 g
- Protein: 3 g
- Cholesterol: 40 mg
Keywords: pie crust, food processor pie dough, flaky pie crust, easy pie crust, homemade pie crust


