
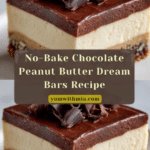
Chocolate Peanut Butter Dream Bars Recipe
Introduction
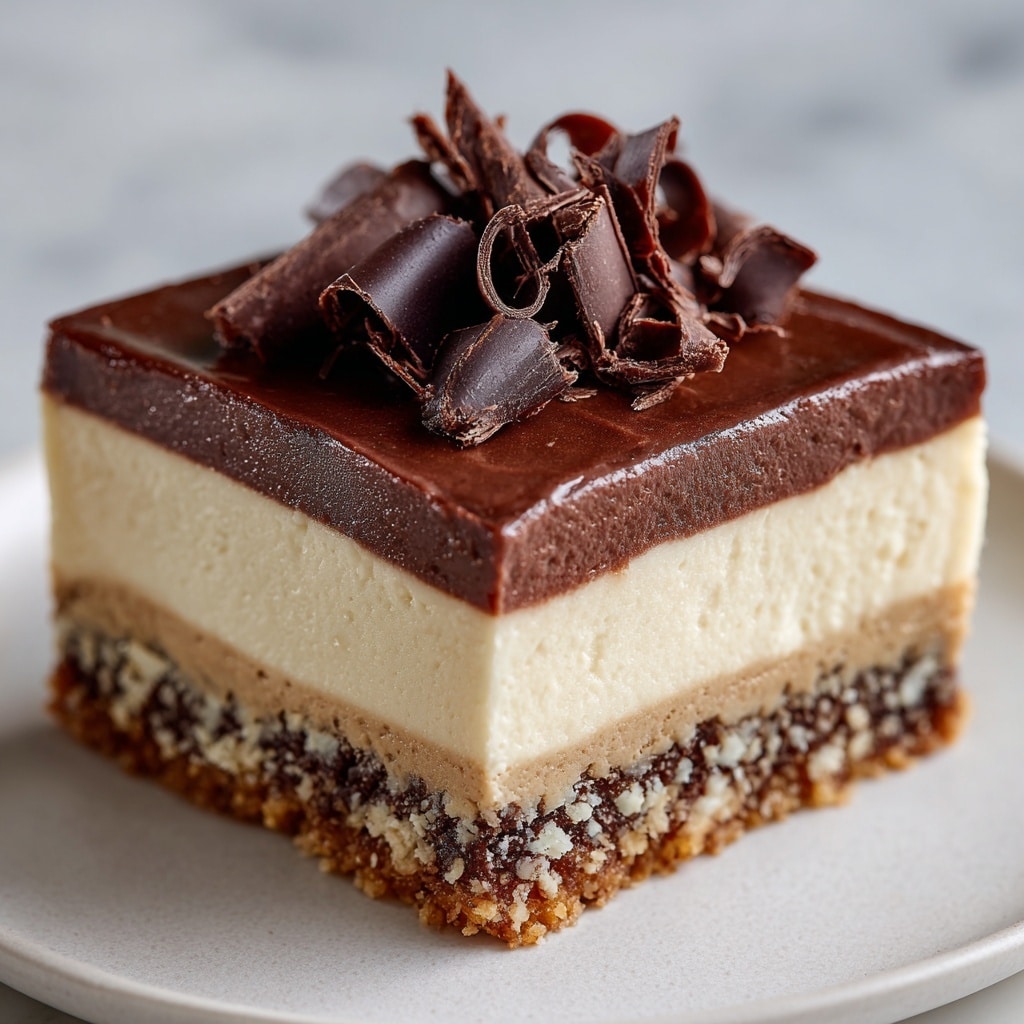
Chocolate Peanut Butter Dream Bars are a luscious no-bake treat featuring layers of rich chocolate, creamy peanut butter, and a cookie crust. These bars combine smooth textures and decadent flavors, making them perfect for any dessert craving.

Ingredients
- 16 oz chocolate sandwich cookies, crushed
- 1/2 cup unsalted butter, melted
- 1 cup creamy peanut butter
- 8 oz cream cheese, softened
- 1 cup powdered sugar
- 8 oz whipped topping, thawed
- 1 package (3.9 oz) instant chocolate pudding mix
- 1 1/2 cups milk
- Additional whipped topping and chocolate curls (optional, for garnish)
Instructions
- Step 1: In a medium bowl, combine the crushed chocolate sandwich cookies with the melted butter. Mix well until the crumbs are evenly coated.
- Step 2: Press the cookie mixture evenly into the bottom of a 9×13-inch baking dish, using the back of a spoon to firmly pack it down. Refrigerate while preparing the filling.
- Step 3: In a separate bowl, beat together the creamy peanut butter, softened cream cheese, and powdered sugar until smooth and fully combined.
- Step 4: Gently fold the thawed whipped topping into the peanut butter mixture, then spread this evenly over the chilled cookie crust.
- Step 5: Whisk together the instant chocolate pudding mix and milk in a bowl until it thickens, about 2 minutes.
- Step 6: Pour the chocolate pudding over the peanut butter layer, spreading it evenly with a spatula.
- Step 7: Cover the dish with plastic wrap and refrigerate for at least 4 hours, or until set, to allow the layers to firm up.
- Step 8: Before serving, garnish with additional whipped topping and chocolate curls if desired.
Tips & Variations
- For a crunchier texture, sprinkle chopped peanuts between the peanut butter and pudding layers.
- Use natural peanut butter for a less sweet, more nutty flavor.
- Try swapping chocolate sandwich cookies for Oreo Thins for a lighter crust.
- To make it gluten-free, substitute the cookie crust with gluten-free chocolate cookies.
Storage
Store the bars in an airtight container in the refrigerator for up to 4 days. They can also be frozen for up to one month; thaw overnight in the fridge before serving. For best texture, allow bars to come to cool room temperature briefly after chilling before cutting.
How to Serve
Serve this delicious recipe with your favorite sides.
FAQs
Can I use crunchy peanut butter instead of creamy?
Yes, crunchy peanut butter will add texture to the filling and works well, but the overall consistency of the bars may be slightly less smooth.
Do I have to refrigerate these bars?
Yes, refrigeration is important to let the layers set properly and to keep the bars firm and fresh.
PrintChocolate Peanut Butter Dream Bars Recipe

Chocolate Peanut Butter Dream Bars feature a delicious layered treat with a crunchy chocolate cookie crust, creamy peanut butter filling, and a rich chocolate pudding topping. These no-bake bars are perfect for dessert lovers craving a smooth combination of chocolate and peanut butter, chilled to perfection.
- Prep Time: 20 minutes
- Cook Time: 0 minutes
- Total Time: 4 hours 20 minutes
- Yield: 12–16 bars 1x
- Category: Dessert
- Method: No-Cook
- Cuisine: American
Ingredients
Crust
- 16 oz chocolate sandwich cookies, crushed
- 1/2 cup unsalted butter, melted
Peanut Butter Filling
- 1 cup creamy peanut butter
- 8 oz cream cheese, softened
- 1 cup powdered sugar
- 8 oz whipped topping, thawed
Chocolate Pudding Layer
- 1 package (3.9 oz) instant chocolate pudding mix
- 1 1/2 cups milk
Garnish (Optional)
- Additional whipped topping
- Chocolate curls
Instructions
- Prepare the Cookie Crust: In a medium bowl, mix the crushed chocolate sandwich cookies with melted butter until the crumbs are fully coated.
- Form the Crust: Press the cookie mixture evenly into the bottom of a 9×13-inch baking dish. Use the back of a spoon to compact it firmly. Refrigerate while you prepare the filling.
- Make the Peanut Butter Filling: In a separate bowl, beat together creamy peanut butter, softened cream cheese, and powdered sugar until the mixture is smooth and homogeneous.
- Add Whipped Topping: Gently fold the thawed whipped topping into the peanut butter mixture. Spread this creamy layer evenly over the chilled cookie crust.
- Prepare the Chocolate Pudding Layer: Whisk together instant chocolate pudding mix and milk in a bowl until the pudding thickens, approximately 2 minutes.
- Assemble the Bars: Pour the thickened chocolate pudding evenly over the peanut butter layer and smooth the top with a spatula.
- Chill the Bars: Cover the dish with plastic wrap and refrigerate for at least 4 hours to allow layers to set firmly for easy cutting.
- Garnish and Serve: Before serving, decorate with additional whipped topping and chocolate curls if desired.
Notes
- Ensure the cream cheese is softened for easier mixing and a smoother texture.
- Use chilled ingredients where possible to keep the bars firm.
- Refrigeration time is essential for the bars to set; do not skip it.
- Chocolate curls can be substituted with shaved chocolate or sprinkles for garnish.
- For a crunchier texture, pulse some cookies in larger chunks instead of crushing all finely.
Keywords: chocolate peanut butter bars, no bake dessert, peanut butter cream cheese bars, chocolate pudding bars, easy layered bars

