
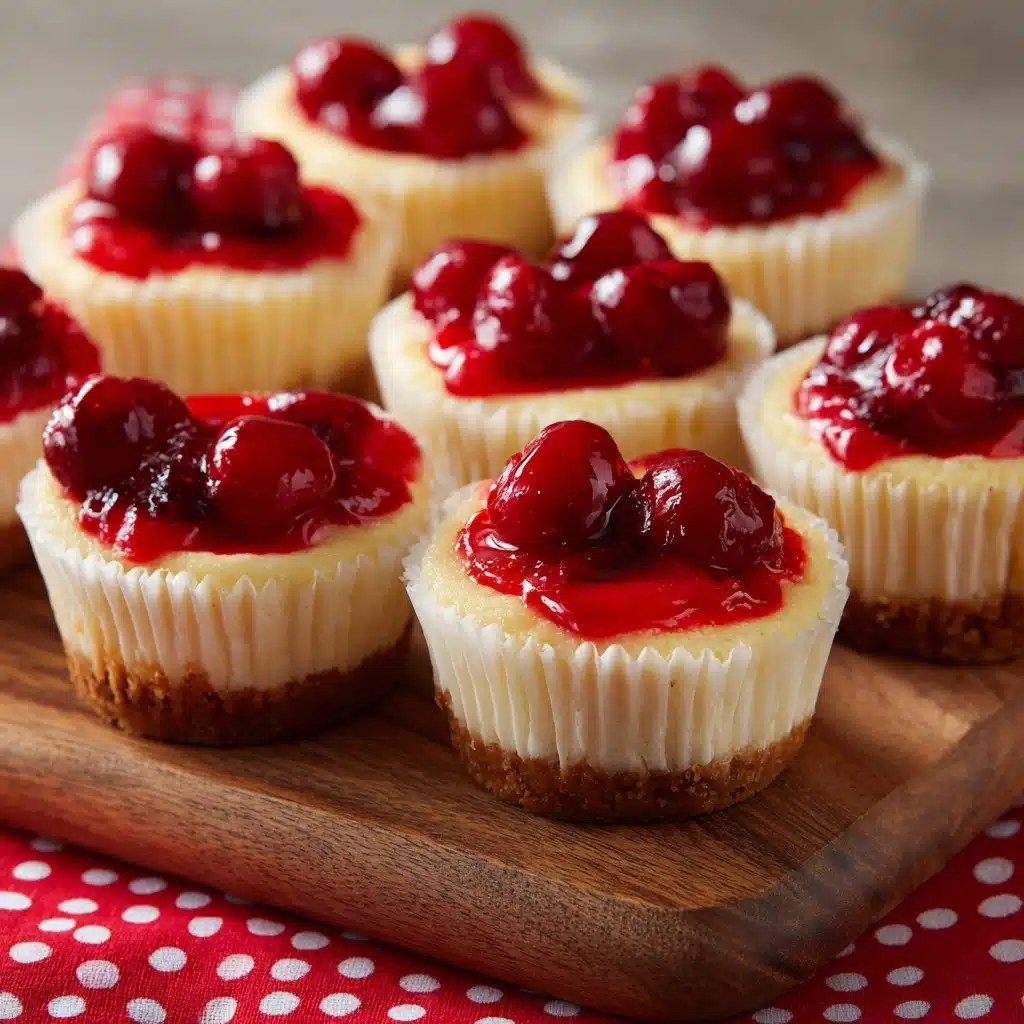
Cherry Cheesecake Cupcakes Recipe
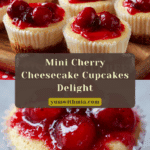
Say hello to pure joy in cupcake form! These Cherry Cheesecake Cupcakes are the perfect blend of tangy, creamy cheesecake and sweet-tart cherry topping, all nestled on a vanilla wafer base. They’re eye-catching, so easy to whip up, and are always a major hit at gatherings—no one can resist their pretty pop of color and melt-in-your-mouth texture. Whether for a special celebration or a weeknight treat, these luscious, little desserts bring big flavor in a portable, single-serve package.
Ingredients You’ll Need
The magic of Cherry Cheesecake Cupcakes is all in the balance of just a few simple ingredients, each bringing a little something special. Every component plays a key role: from the crispy crust to the creamy filling and juicy cherry topping, every bite is a mini celebration.
- 20 cupcake liners: These keep the cupcakes perfectly shaped and make serving—and cleanup—a breeze.
- 20 vanilla wafers: Using a single wafer as the crust is both classic and clever, adding just the right amount of crunch and flavor.
- 16 ounces cream cheese (softened): Softening your cream cheese ensures a smooth, lump-free filling that’s rich and creamy.
- 2 eggs: Eggs give the cheesecake its velvety texture and help everything set up perfectly.
- 3/4 cup sugar: White sugar sweetens the cheesecake just enough without overpowering the tang of the cream cheese.
- 1 tablespoon lemon juice: A touch of lemon brightens up the flavor, cutting through the richness beautifully.
- 1 teaspoon vanilla: Just a teaspoon of vanilla brings a comforting warmth and depth to the cheesecake layer.
- 21 ounce can cherry pie filling: This ruby-red topping brings sweetness, moisture, and irresistible visual appeal.
How to Make Cherry Cheesecake Cupcakes
Step 1: Prepare Your Cupcake Pan
Start by preheating your oven to 375°F. Line each cup of your cupcake pan with a cupcake liner to keep things perfectly neat and ensure easy removal. Drop a vanilla wafer, flat side down, into the bottom of every liner—this shortcut crust is crunchy, golden, and absolutely delightful.
Step 2: Whip the Cream Cheese
Take your softened cream cheese and beat it in a mixing bowl until smooth and creamy. This step is crucial for creating that luscious, satiny cheesecake filling, so don’t skimp on the mixing! A hand mixer or stand mixer works wonders here.
Step 3: Combine the Filling
Add the sugar, eggs, lemon juice, and vanilla to the cream cheese. Blend everything together until the mixture is light, fluffy, and completely smooth. Take a moment to scrape down the sides to make sure every bit is beautifully incorporated—no lumps allowed!
Step 4: Fill and Bake
Pour or scoop the cheesecake mixture into the prepared liners, filling each about three-quarters full. The batter will rise slightly as it bakes, so don’t overfill. Pop the pan into your preheated oven for 15 to 20 minutes, or until the centers look set but not browned. Let the cupcakes cool completely in the pan before moving on—you want that creamy filling to firm up perfectly.
Step 5: Top and Serve
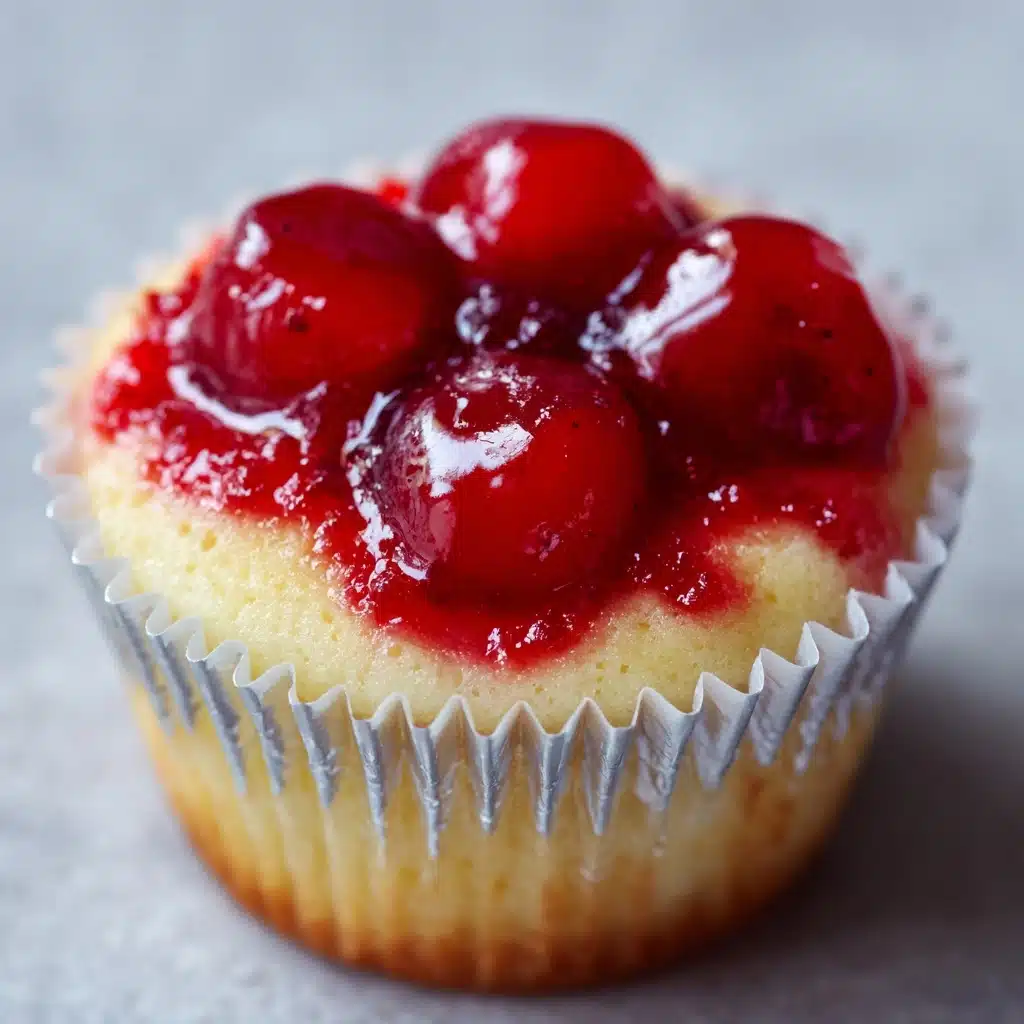
Once cooled, gently spoon cherry pie filling over each cupcake, making sure every one gets a generous helping of those glossy, sweet-tart cherries. Arrange them on a tray, add any optional toppings you love, and get ready for serious compliments. This recipe yields 15 to 20 mini cheesecakes, so there’s plenty to go around!
How to Serve Cherry Cheesecake Cupcakes
Garnishes
For extra flair, try topping your Cherry Cheesecake Cupcakes with a little whipped cream, a sprinkle of lemon zest, or even mini chocolate chips. Each topping adds its own energy and sets your cupcakes apart. A dusting of powdered sugar can also bring a touch of elegance for special occasions.
Side Dishes
Since Cherry Cheesecake Cupcakes are rich and creamy, pair them with something light and fun. Fresh berries, citrus fruit salads, or even a tray of crispy cookies make a beautiful spread. If you’re serving them for a party, add coffee, tea, or even sparkling lemonade for a perfect complement.
Creative Ways to Present
Serve these cupcakes on a tiered dessert tray for a dramatic effect, or place each one in a mini-cupcake box as an adorable party favor. For holidays, accent the cupcakes with themed cupcake toppers or colored sprinkles to match your celebration. These little cheesecakes are incredibly versatile—they make any table look festive!
Make Ahead and Storage
Storing Leftovers
To keep your Cherry Cheesecake Cupcakes tasting their best, store any leftovers in an airtight container in the refrigerator. They’ll stay fresh and creamy for up to five days—if they last that long! Chilling not only preserves them but also helps the flavors deepen overnight.
Freezing
If you want to prep ahead or save a batch for later, just wrap each cupcake (without the cherry topping) tightly in plastic wrap and store in a zip-top freezer bag. They’ll keep well for up to two months. When you’re ready to serve, thaw overnight in the fridge, then add the cherry topping right before enjoying.
Reheating
Cheesecake is best served chilled or at room temperature, so there’s no need to reheat your Cherry Cheesecake Cupcakes. If you prefer a slightly softer texture, take them out of the fridge 10–15 minutes before serving—they’ll be perfectly creamy and delicious.
FAQs
Can I use a different pie filling for these cupcakes?
Absolutely! While cherry is the classic topping, feel free to try blueberry, strawberry, or even apple pie filling for a fun twist. The base cheesecake pairs nicely with just about any fruit topping you can imagine.
Do I need to use vanilla wafers or can I substitute with something else?
If you don’t have vanilla wafers on hand, try gingersnaps, shortbread cookies, or graham cracker rounds. Any crisp cookie that will fit into the bottom of the cupcake liner will work for your crust.
Can I make Cherry Cheesecake Cupcakes gluten-free?
Yes! Simply use gluten-free vanilla wafers or cookies for the crust. The rest of the ingredients are naturally gluten-free, making this recipe easy to adapt to dietary needs.
Why did my cheesecake filling crack?
Small cracks can happen if the cupcakes are overbaked or cooled too quickly, but don’t worry—once you top them with cherry pie filling, no one will notice! To avoid cracks, try not to overmix the batter and cool the cupcakes gradually.
How do I know when the cupcakes are done baking?
The cupcakes are ready when the centers look set and don’t jiggle when you gently shake the pan. They shouldn’t brown much; a pale, firm top is what you’re looking for. Remember, they’ll firm up even more as they cool!
Final Thoughts
If you’re searching for a crowd-pleasing, joy-inducing dessert, you can’t go wrong with Cherry Cheesecake Cupcakes. Invite your loved ones to share in the fun and flavor—they’ll rave about these little treats! Go ahead and make a batch; you’ll quickly see why they’ve become a personal favorite.
PrintCherry Cheesecake Cupcakes Recipe

These Cherry Cheesecake Cupcakes are a delightful twist on traditional cheesecake, with a cherry pie topping. Perfect for parties or a sweet treat!
- Prep Time: 15 minutes
- Cook Time: 20 minutes
- Total Time: 35 minutes
- Yield: 15–20 mini cheesecakes 1x
- Category: Dessert
- Method: Baking
- Cuisine: American
- Diet: Vegetarian
Ingredients
For the Cupcakes:
- 20 cupcake liners
- 20 vanilla wafers
- 16 ounces cream cheese (softened)
- 2 eggs
- 3/4 cup sugar
- 1 tablespoon lemon juice
- 1 teaspoon vanilla
For Topping:
- 21 ounce can cherry pie filling
Instructions
- Preheat oven and prepare cupcake pan: Preheat oven to 375°F. Line cupcake pan with liners and place a vanilla wafer in the bottom of each liner.
- Prepare cream cheese mixture: In a small bowl, beat softened cream cheese. Add sugar, eggs, lemon juice, and vanilla; mix until fluffy and light.
- Fill cupcake liners: Fill liners 3/4 full with cream cheese mixture.
- Bake: Bake for 15 to 20 minutes or until set. Let cool.
- Top and serve: Set mini cheesecakes out on a tray and top with cherry pie filling. Makes 15 – 20 mini cheesecakes.
Nutrition
- Serving Size: 1 mini cheesecake
- Calories: 190
- Sugar: 15g
- Sodium: 140mg
- Fat: 12g
- Saturated Fat: 6g
- Unsaturated Fat: 4g
- Trans Fat: 0g
- Carbohydrates: 18g
- Fiber: 0.5g
- Protein: 3g
- Cholesterol: 60mg
Keywords: Cherry Cheesecake Cupcakes, Mini Cheesecakes, Dessert Recipe, Cherry Pie Filling