
Hot Chocolate Ice Cream Recipe
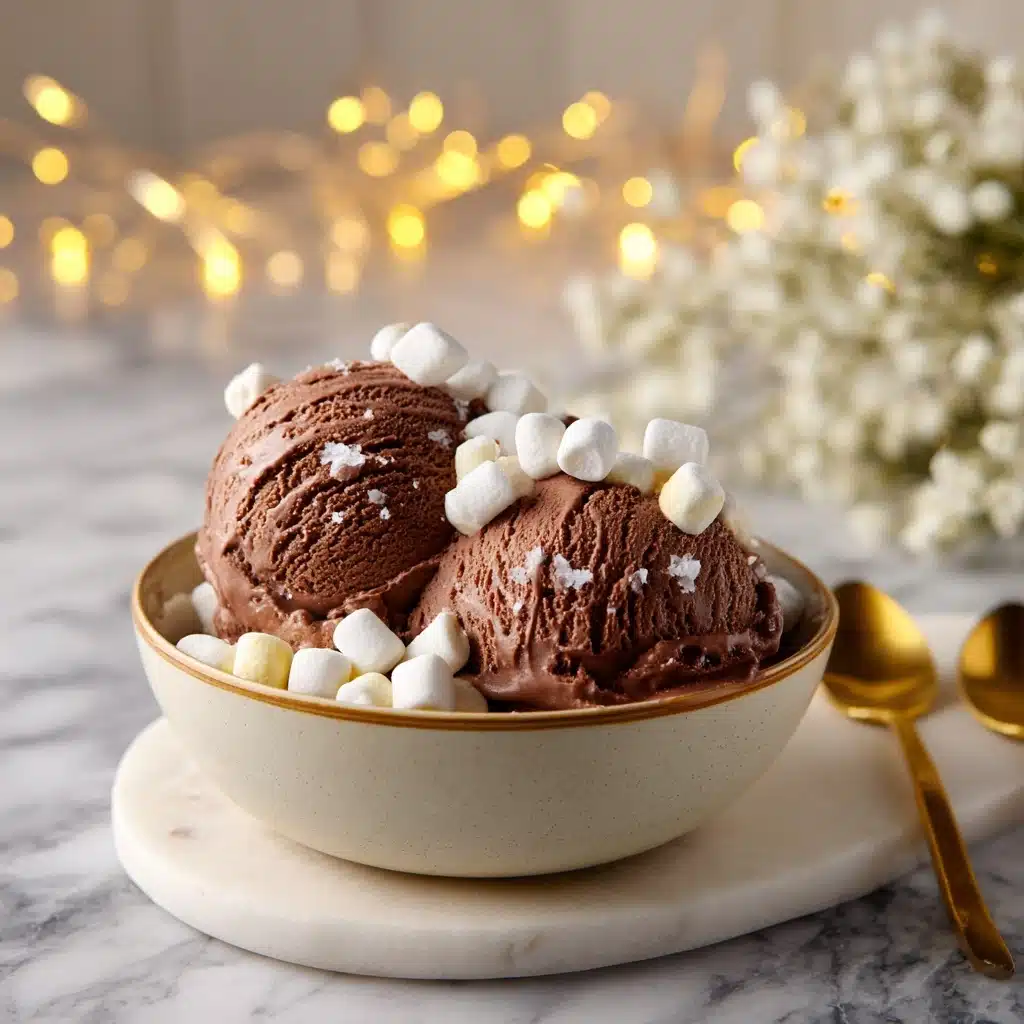
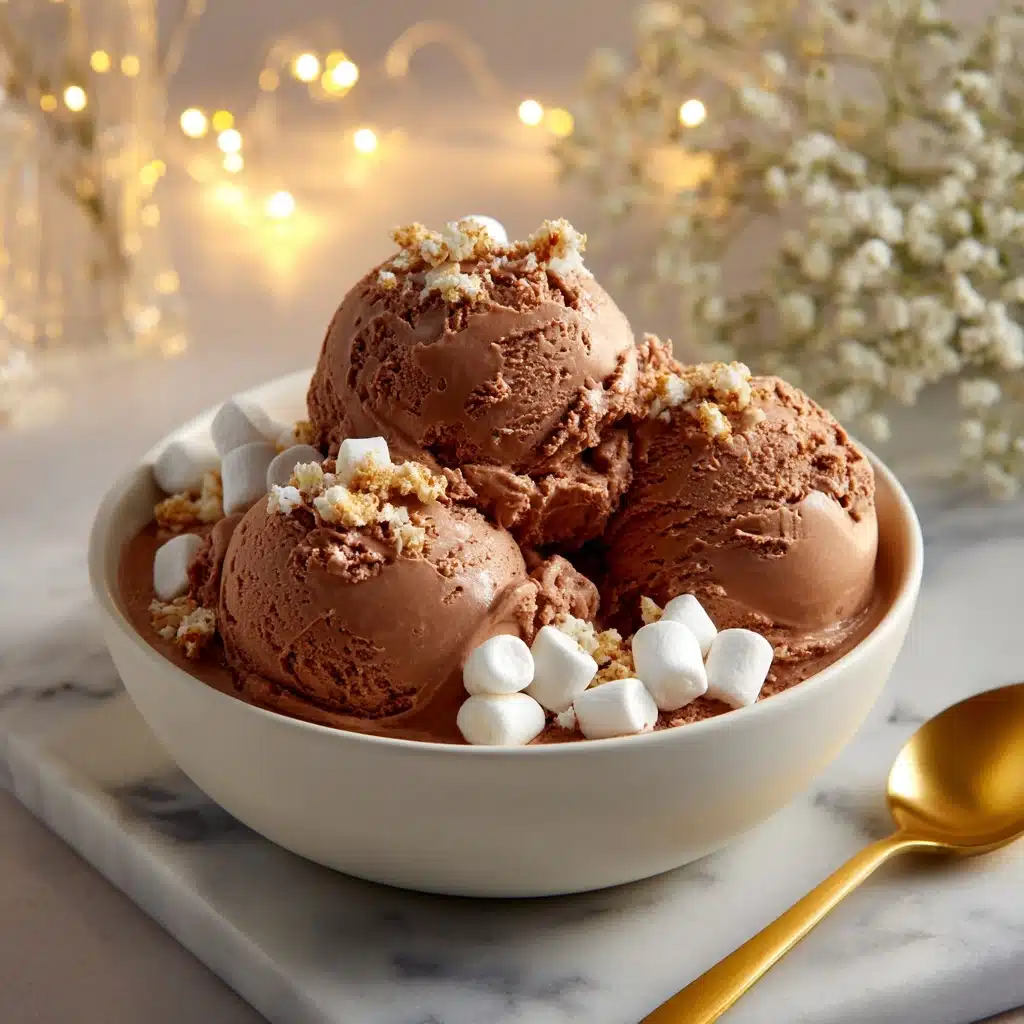
Think all the coziness of a steaming cup of hot cocoa, but transformed into a dreamy, creamy frozen dessert—this is Hot Chocolate Ice Cream! Each scoop is decadently rich, swirled with fluffy mini marshmallows, and laced with the nostalgic comfort of winter’s favorite beverage. Whether you’re satisfying a sweet tooth on a summer day or simply craving a playful twist on a classic treat, Hot Chocolate Ice Cream is ready to make your dessert dreams come true.
Ingredients You’ll Need
This recipe uses a short list of fantastically simple ingredients, proving that memorable flavors often come from the basics. Each component here serves a purpose: creating that classic hot chocolate vibe, delivering velvety texture, and making your ice cream anything but ordinary.
- Heavy cream: Whipping cream is the key to a lusciously smooth and scoopable texture, just like the premium ice creams from your favorite shop.
- Sweetened condensed milk: Brings all the sweetness plus a rich, creamy consistency—think of it as the backbone of your Hot Chocolate Ice Cream.
- Cocoa powder: Use unsweetened cocoa for bold, chocolaty depth. Sifting it ensures a smooth, lump-free treat.
- Vanilla extract: This little splash brings out the chocolate’s richness, balancing the flavors and adding aromatic warmth.
- Mini marshmallows: Tiny pillows of fun and texture, they melt just enough for a gooey twist but keep some chew for that classic hot chocolate feel.
How to Make Hot Chocolate Ice Cream
Step 1: Whip the Cream
Begin by pouring your heavy cream into a large, chilled mixing bowl. Using a hand mixer or stand mixer, whip at medium-high speed until the cream forms stiff peaks. This step is what gives your Hot Chocolate Ice Cream its light, cloud-like texture—don’t rush it! You want the cream to be thick enough that it holds shape, but stop before it turns buttery.
Step 2: Mix in the Chocolatey Goodness
Next, grab your cocoa powder and sift it directly over the whipped cream. This helps prevent any clumps and ensures every bite is deeply chocolatey. Add in the sweetened condensed milk and vanilla extract. Gently fold everything together using a spatula—think slow, sweeping motions to keep as much fluffiness as possible. The mixture will turn a dreamy mocha-brown, rich and inviting.
Step 3: Fold in Marshmallows
Once your chocolate base is combined, it’s time for the magic—mini marshmallows! Stir them in evenly, making sure they’re well distributed. These little bursts of sweetness set Hot Chocolate Ice Cream apart, adding playful surprises as you scoop.
Step 4: Freeze Until Firm
Transfer your mixture into a standard loaf pan (or any freezer-safe container). Smooth out the top, cover with plastic wrap or a tight lid, and slide it into the freezer. Let it chill for at least 6 hours, or even better, overnight. This wait is the hardest part, but it allows your Hot Chocolate Ice Cream to set into that perfect, scoopable texture.
How to Serve Hot Chocolate Ice Cream
Garnishes
The finishing touches really make this Hot Chocolate Ice Cream sing! Top your scoops with extra mini marshmallows, a grating of dark chocolate, or a drizzle of chocolate sauce. A dollop of whipped cream adds an old-school soda fountain vibe. You can even dust with a pinch of cinnamon or crushed peppermint for seasonal flair.
Side Dishes
This frozen treat is blissful on its own, but pairing it with classic sides takes it to another level. Try serving with crisp biscotti, homemade brownies, or even warm chocolate chip cookies for a winning combo of hot and cold, soft and crunchy. Fresh fruit, like sliced strawberries or bananas, brings a pop of freshness to balance the chocolate intensity.
Creative Ways to Present
Get playful with your presentation! Scoop your Hot Chocolate Ice Cream into decorative mugs for a visual nod to its inspiration. Serve mini ice cream sandwiches using chocolate graham crackers, or build a sundae with layers of whipped cream and cherry on top. For parties, fill waffle cones and dip the rims in melted chocolate for extra decadence.
Make Ahead and Storage
Storing Leftovers
Keep any leftover Hot Chocolate Ice Cream well covered in the freezer to prevent it from absorbing any odors or forming ice crystals. A tight-fitting lid or plastic wrap pressed directly onto the surface works wonders. Enjoy within two weeks for the best flavor and texture—you’ll find it rarely lasts that long!
Freezing
For the creamiest results, make sure your freezer is cold enough and avoid frequent opening, which can introduce unwanted moisture. If you want individual portions, freeze your ice cream in silicone muffin cups for easy single-serve treats.
Reheating
Okay, we’re not exactly reheating, but if your Hot Chocolate Ice Cream gets super firm, simply let it sit at room temperature for 5–10 minutes before scooping. This softens it up so every spoonful is perfectly dreamy and never icy.
FAQs
Can I use regular marshmallows instead of mini?
Absolutely! Just chop them into small pieces before folding in, or even toast them lightly for a smoky s’mores vibe. The effect will be similar, though mini marshmallows are a bit more convenient for mixing and decorating.
What kind of cocoa powder works best for Hot Chocolate Ice Cream?
Unsweetened natural cocoa powder works brilliantly for classic flavor, while Dutch-process cocoa brings a smoother, deeper chocolate note. Both will be delicious, so use whichever you have or prefer!
Can I add chocolate chips or other mix-ins?
Go for it! Chocolate chips, toffee bits, or crushed peppermint are fantastic add-ins. Just stir them in with the marshmallows; the only limit is your imagination!
Do I need an ice cream maker?
No ice cream maker needed at all—this recipe is delightfully no-churn, meaning all you need is a hand mixer (or strong whisk and elbow grease!) and a freezer. It’s as easy as it is addictive.
Is it possible to make this dairy-free or vegan?
You can experiment with coconut cream instead of heavy cream and a dairy-free condensed milk alternative—plus vegan marshmallows. While the texture will change slightly, you’ll still have a luscious, chocolaty treat!
Final Thoughts
If you’re looking to turn everyday moments into unforgettable treats, Hot Chocolate Ice Cream is your ticket. It’s pure comfort, serious chocolate flavor, and a scoop of childlike joy all in one bowl. Give it a try and watch smiles appear—one delicious spoonful at a time!
PrintHot Chocolate Ice Cream Recipe

Indulge in a creamy and decadent treat with this Hot Chocolate Ice Cream recipe. Smooth chocolate flavor combined with fluffy marshmallows makes this dessert a crowd-pleaser!
- Prep Time: 15 minutes
- Cook Time: 0 minutes
- Total Time: 6 hours 15 minutes
- Yield: 8 servings 1x
- Category: Dessert
- Method: Freezing
- Cuisine: American
- Diet: Vegetarian
Ingredients
For the Ice Cream:
- 2 cups heavy cream
- 1 cup sweetened condensed milk
- 1/2 cup cocoa powder
- 1 teaspoon vanilla extract
Additional:
- 1/2 cup mini marshmallows
Instructions
- Whip the Cream: In a large bowl, whip the heavy cream until stiff peaks form.
- Combine Ingredients: Sift in the cocoa powder, then fold in the sweetened condensed milk and vanilla extract until well combined.
- Add Marshmallows: Stir in the mini marshmallows gently.
- Freeze: Pour the mixture into a loaf pan, cover, and freeze for at least 6 hours or overnight.
- Serve: Scoop out this delightful ice cream and top with extra marshmallows for an extra treat!
Nutrition
- Serving Size: 1 serving
- Calories: 320
- Sugar: 18g
- Sodium: 50mg
- Fat: 25g
- Saturated Fat: 16g
- Unsaturated Fat: 8g
- Trans Fat: 0g
- Carbohydrates: 23g
- Fiber: 2g
- Protein: 3g
- Cholesterol: 75mg
Keywords: Hot Chocolate Ice Cream, Chocolate Ice Cream Recipe, Homemade Ice Cream, Marshmallow Ice Cream


