
Homemade Bread Recipe
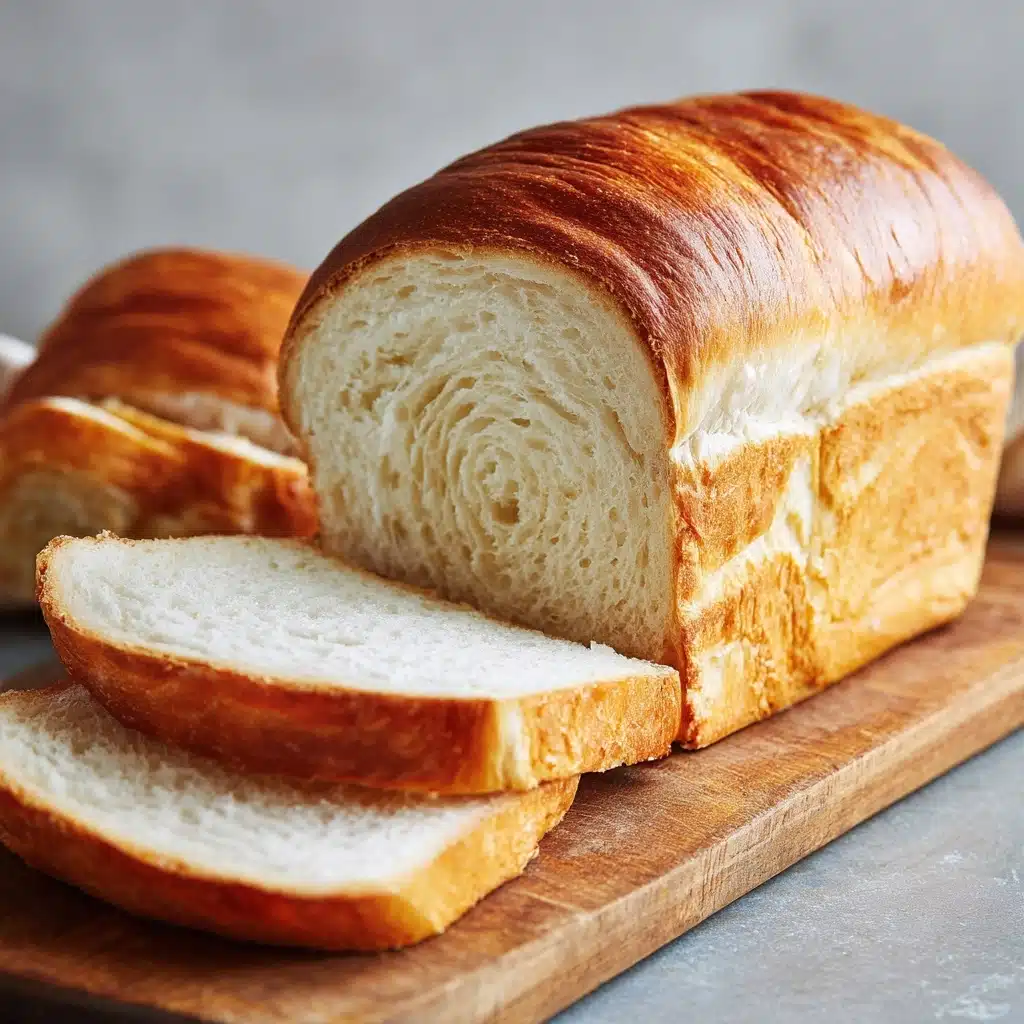
There’s nothing quite like the irresistible aroma of Homemade Bread wafting through your kitchen. This approachable classic delivers a pillowy, chewy crumb with a golden crust that’s perfect for everything from sandwiches to warm, buttery slices at breakfast. Homemade Bread doesn’t just taste better than store-bought—it infuses your home with joy and warmth, and once you try this simple recipe, you’ll see how easy it is to incorporate into your weekly routine. Whether you’re a seasoned baker or a beginner looking for a new favorite, this bread has you covered!
Ingredients You’ll Need
Great bread starts with the essentials, and every ingredient here plays a vital role in creating flavor, texture, and that deeply satisfying aroma. The best part? You likely have most of them already in your pantry!
- Warm water (2 cups, 105-115 degrees): This helps activate the yeast and gives your bread its soft, moist interior—use a thermometer to be sure!
- Active dry yeast (1 tablespoon): The secret to that beautiful rise and airy crumb, so make sure your yeast is fresh for best results.
- Honey or sugar (1/4 cup): Adds a gentle sweetness and helps feed the yeast, ensuring a lively, robust rise.
- Salt (2 teaspoons): Essential for flavor and balance; don’t skip it or your bread will taste flat.
- Canola or vegetable oil (2 tablespoons): Helps produce a tender loaf and keep it fresh for days.
- All-purpose or bread flour (4 – 5 1/2 cups): Flour is the backbone—bread flour yields a chewier loaf, but all-purpose works beautifully if that’s what you have.
How to Make Homemade Bread
Step 1: Proof the Yeast
Begin by pouring the warm water into a large bowl or the bowl of your stand mixer. Sprinkle on the yeast and a pinch of your sugar or honey. Let this mixture rest for about 5–10 minutes. If you peek and see a foamy, bubbly surface, your yeast is alive and ready to go! This quick check ensures your Homemade Bread gets that perfect rise, so if you don’t see bubbles, start fresh with new yeast.
Step 2: Combine Ingredients
Add the remaining honey or sugar, salt, oil, and 3 cups of flour to your bubbly yeast mixture. Mix until combined. The dough will start looking shaggy, but you’re off to a great start—resist the urge to add all the flour at once, as this early mix sets the foundation for Homemade Bread’s soft texture.
Step 3: Add More Flour Gradually
Toss in another cup of flour and mix, then slowly add more flour, about 1/2 cup at a time, with the mixer on low or by hand. Stop adding flour as soon as the dough begins to pull away from the sides of the bowl. It should feel smooth, elastic, and barely sticky to the touch—think of the texture of slightly damp playdough.
Step 4: Knead the Dough
Let your stand mixer handle the heavy lifting for 4–5 minutes on medium speed. If kneading by hand, transfer your dough to a lightly floured surface and knead for 5–8 minutes. You’ll notice the dough transforming into a soft, stretchy mass—the more you knead, the lighter your Homemade Bread will be.
Step 5: First Rise
Drizzle a little oil into a large clean bowl, add your dough ball, and turn it to coat. Cover tightly with plastic wrap or a clean towel, and let it rise in a warm spot for 1 1/2 hours until doubled in size. Patience here is key—this rise is where all the magic happens.
Step 6: Prepare the Pans
While the dough rises, grease two 9×5-inch bread pans generously with cooking spray. If you want to guarantee easy removal, line the bottom with a piece of parchment paper. This step ensures your Homemade Bread comes out with a perfect crust (and zero sticking or tearing).
Step 7: Shape the Loaves
Punch down the dough to deflate it (so satisfying!). Divide into two equal portions and shape each into a tight log, tucking the ends underneath. Place them seam-side down into your prepared pans. These loaves will soon fill out their pans beautifully.
Step 8: Second Rise
Cover the pans loosely with towels or greased plastic wrap. Let the dough rise for 45 minutes to an hour, until it rises just above the rim of the pans. This second rise gives you the classic domed top and ultra-fluffy crumb that makes Homemade Bread so special.
Step 9: Bake
Preheat your oven to 350 F. Bake the loaves for 30–33 minutes, or until the tops are golden brown. When you tap a loaf gently, it should sound hollow—your cue that it’s done! Each oven can vary a bit, so keep a close eye.
Step 10: Cool and Enjoy
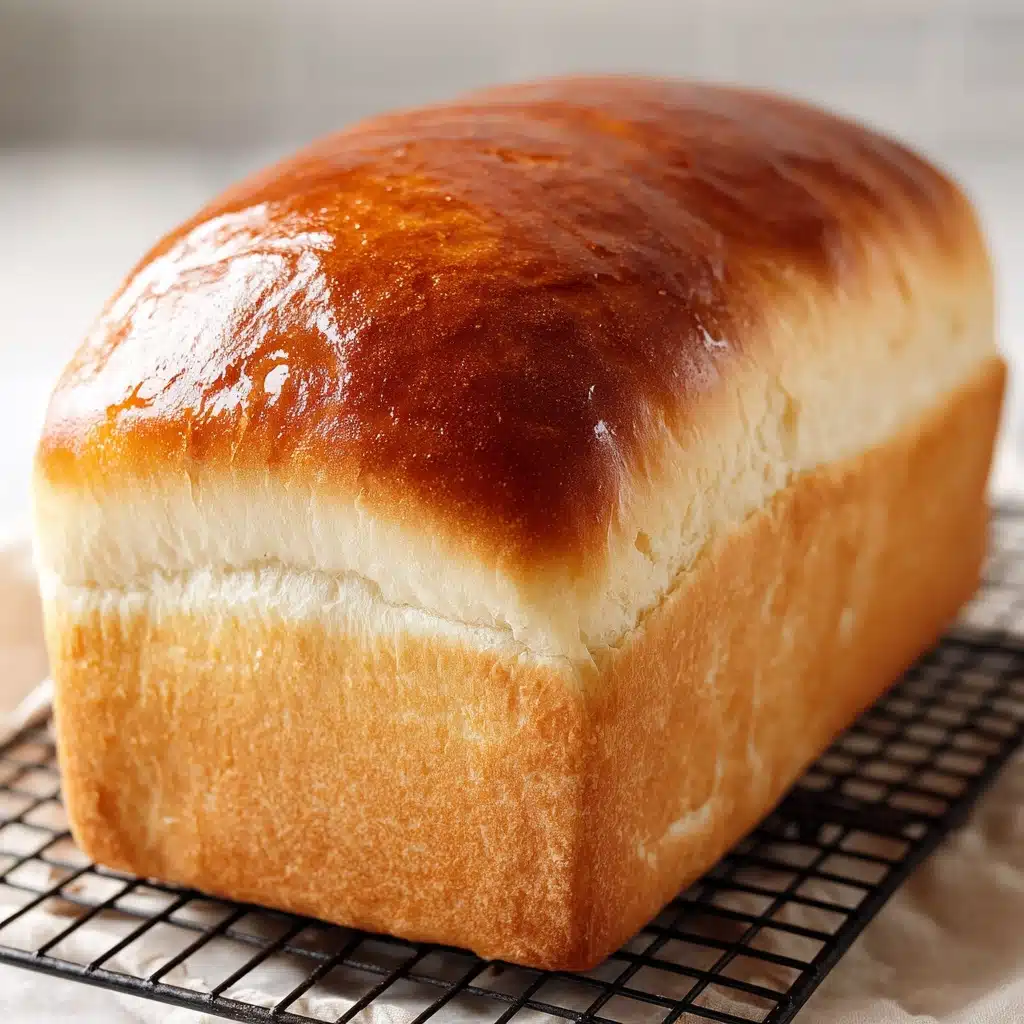
Invert the fresh-baked loaves right onto a wire rack and brush the tops with butter for a soft, shiny finish that’s impossible to resist. Let them cool for at least 10 minutes before slicing (the hardest part!). Once you take that first warm bite, you’ll be hooked.
How to Serve Homemade Bread
Garnishes
Add a touch of melted butter right as your loaf comes out of the oven for a glossy top, or sprinkle with sea salt for a little crunch. Sesame, poppy, or sunflower seeds pressed into the dough before baking also give your Homemade Bread an eye-catching finish and extra flavor.
Side Dishes
Few things compare to a warm slice of Homemade Bread alongside your favorite soup—creamy tomato, hearty vegetable, or classic chicken noodle. It’s also perfect with eggs at breakfast or served as the base for open-faced sandwiches with leftovers for lunch.
Creative Ways to Present
Cube your Homemade Bread for rustic croutons in salads, slice thick for indulgent French toast, or serve a loaf whole on a large wooden board with a variety of dips and spreads. It’s also a standout at dinner parties—wrap in a clean towel and tuck in a basket to keep it warm and inviting.
Make Ahead and Storage
Storing Leftovers
Once fully cooled, store any leftover Homemade Bread in an air-tight container or zip-top bag at room temperature for 2–3 days. If your kitchen is warm or humid, you’ll get a little more mileage by storing it in the refrigerator for up to 5 days—just be sure it’s tightly sealed to prevent drying out.
Freezing
Yes, Homemade Bread freezes beautifully! Wrap cooled loaves tightly in plastic wrap, then place in a freezer bag. Slices can be frozen individually for up to three months. When the craving strikes, just thaw at room temperature or toast directly from frozen.
Reheating
To bring your Homemade Bread back to its warm, just-baked glory, wrap slices in foil and heat in a low oven (around 300 F) for 10–15 minutes. For a quick fix, pop a slice in the toaster—the crust gets a lovely crunch while the inside stays soft and chewy.
FAQs
Can I use whole wheat flour for this bread?
Absolutely! You can substitute up to half of the flour with whole wheat for a heartier loaf. Just know that all whole wheat may produce a denser bread, so start with half and see what you like best.
Why did my bread not rise?
This usually happens if the yeast wasn’t active enough. Make sure your water isn’t too hot or too cold, and always proof the yeast before proceeding—this step ensures your Homemade Bread rises beautifully every time.
Can I make this recipe without a stand mixer?
Definitely! Mixing and kneading by hand works just as well—it just takes a bit more elbow grease. Many home bakers find the process relaxing and rewarding.
Why is my bread dense or heavy?
Over-flouring is the most common culprit. Add flour gradually and stop when the dough is just pulling from the sides of the bowl and slightly tacky. Also, be sure not to rush the rises—patience ensures fluffy Homemade Bread.
How can I tell when the bread is fully baked?
A perfect loaf will be golden brown, and a gentle tap on the top should sound hollow. If you have a thermometer, the interior should be about 190–200 F. Remove from pans quickly to cool for the perfect crust.
Final Thoughts
Homemade Bread is more than just a recipe—it’s a little kitchen magic that fills your home with comfort. Once you taste this fresh, warm loaf, you’ll never look at bread the same way again. Don’t wait—gather your ingredients and treat yourself and your loved ones to the unbeatable delight of baking bread from scratch!
PrintHomemade Bread Recipe
Learn how to make delicious Homemade Bread with this easy-to-follow recipe. This classic bread recipe is perfect for sandwiches, toasting, or enjoying fresh with butter.
- Prep Time: 20 minutes
- Cook Time: 30 minutes
- Total Time: 3 hours
- Yield: 2 loaves 1x
- Category: Bread
- Method: Baking
- Cuisine: American
- Diet: Vegetarian
Ingredients
For the Bread:
- 2 cups warm water (105–115 degrees)
- 1 Tablespoon active dry yeast
- 1/4 cup honey or sugar
- 2 teaspoons salt
- 2 Tablespoons oil (canola or vegetable)
- 4 – 5 1/2 cups all-purpose or bread flour
Instructions
- Prepare the dough: In a large bowl or stand mixer, combine yeast, warm water, and a pinch of sugar or honey. Allow to rest until foamy.
- Add remaining ingredients: Mix in sugar, salt, oil, and 3 cups of flour. Gradually add more flour until dough is smooth and elastic.
- Knead the dough: Mix or knead for 4-5 minutes until smooth.
- First rise: Allow dough to double in size in a greased bowl, about 1 1/2 hours.
- Shape and second rise: Divide dough, shape into loaves, and let rise again until doubled.
- Bake: Preheat oven and bake loaves until golden brown.
- Cool and store: Brush with butter, cool, and store once completely cooled.
Notes
- You can customize by adding seeds or oats to the top before baking for extra flavor and texture.
- For a softer crust, cover loaves with a clean kitchen towel as they cool.
Nutrition
- Serving Size: 1 slice
- Calories: 150
- Sugar: 3g
- Sodium: 200mg
- Fat: 2g
- Saturated Fat: 0.5g
- Unsaturated Fat: 1.5g
- Trans Fat: 0g
- Carbohydrates: 28g
- Fiber: 1g
- Protein: 4g
- Cholesterol: 0mg
Keywords: homemade bread, bread recipe, sandwich bread, baking


