
Cherry Pie Filling Recipe
There’s something utterly magical about homemade Cherry Pie Filling—its vibrant color, sweet-tart flavor, and glossy finish make it hard to resist sneaking a spoonful before it ever meets a crust. Whether you’re topping a scoop of vanilla ice cream, swirling it into yogurt, or piling it high into a flaky pie shell, this easy-to-make filling brings a burst of summer into any dessert. Get ready to discover just how effortless and rewarding homemade Cherry Pie Filling can be!
Ingredients You’ll Need
With just four simple ingredients, you’re on your way to creating a delicious Cherry Pie Filling that tastes fresher and brighter than anything from a can. Each one has a special role in building a perfectly balanced flavor and irresistible texture.
- Tart Red Cherries: The star of the show! Their naturally tangy flavor provides a bold, fruity base and a dazzling ruby color.
- White Sugar: Sweetens the cherries and balances out their tartness for a truly harmonious filling.
- Cornstarch: The secret to that luscious, silky-smooth consistency that clings beautifully to every bit of fruit.
How to Make Cherry Pie Filling
Step 1: Gather Your Ingredients
Before you begin, make sure you have all your ingredients measured and ready. A little prep goes a long way—pit those cherries if you haven’t already, and portion out your sugar and cornstarch for a smooth process.
Step 2: Simmer the Cherries
Place your pitted tart red cherries into a medium saucepan. Set the heat to medium and cover the pan, stirring often. In about 10 to 15 minutes, you’ll see the cherries break down and release their gorgeous juices—this is your first step towards a juicy, flavorful Cherry Pie Filling.
Step 3: Mix Sugar and Cornstarch
While the cherries soften, take a bowl and whisk together the sugar and cornstarch. Mixing these two beforehand prevents lumps later, ensuring your filling thickens evenly and stays silky smooth.
Step 4: Thicken the Filling
Pour the sugar-cornstarch mixture into the bubbling cherries and stir thoroughly. Bring everything to a gentle simmer over low heat. In just about 2 minutes, you’ll watch the sauce transform—thickening up to that dreamy consistency you know and love in classic Cherry Pie Filling.
Step 5: Cool and Use
Remove the pan from the heat and let your fresh filling cool completely before using it in your favorite pie crust, spooning it over desserts, or swirling it into breakfast treats. That’s it—homemade cherry magic!
How to Serve Cherry Pie Filling
Garnishes
A simple sprinkle of powdered sugar or a few fresh mint leaves make Cherry Pie Filling pop, both visually and in flavor. Add a dollop of whipped cream or a scoop of vanilla ice cream to balance the tartness, and you’ve got yourself a picture-perfect treat.
Side Dishes
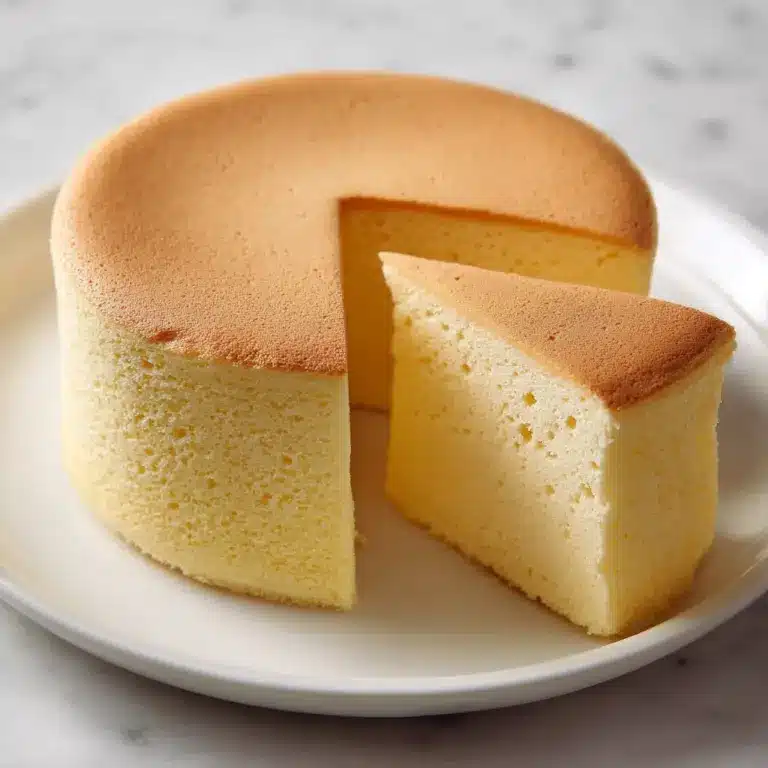
This filling pairs wonderfully with buttery shortbread cookies, vanilla sponge cake, or even a stack of fluffy pancakes. The sweet and tangy cherries bring lively flavor to all sorts of classic side dishes, turning everyday desserts into special-occasion fare.
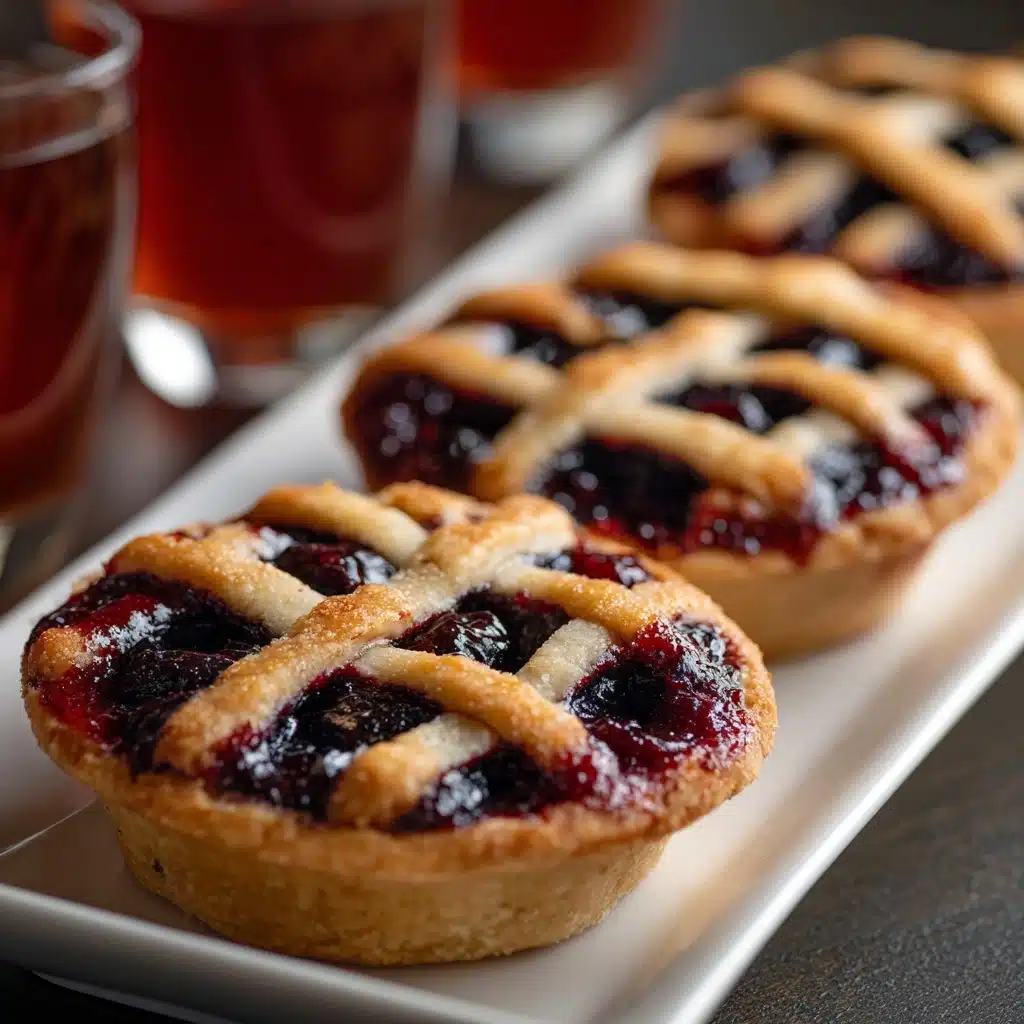
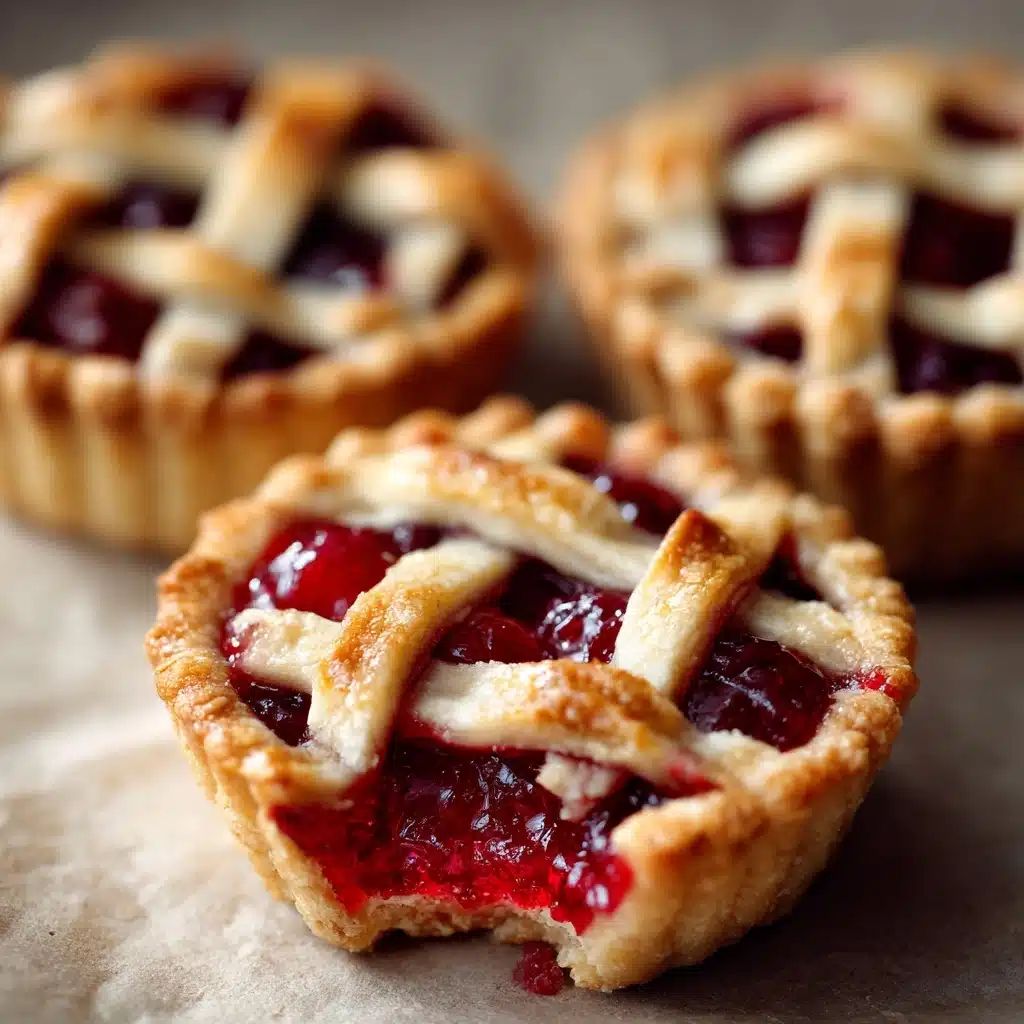
Creative Ways to Present
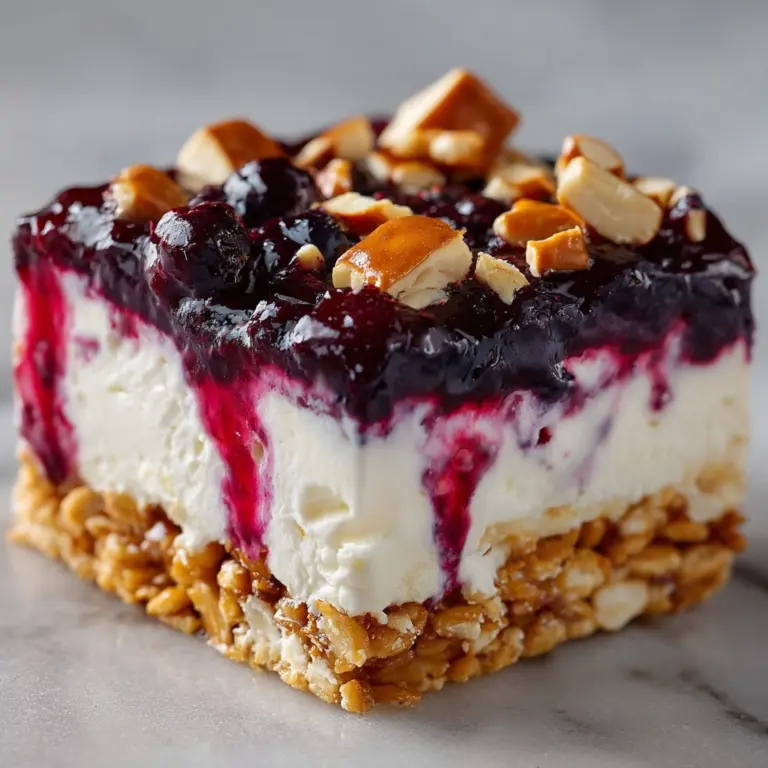
Don’t stop at pies! Layer Cherry Pie Filling in parfait glasses with yogurt and granola, swirl it through cheesecake, drizzle it over waffles, or even use it to top a creamy panna cotta. Its versatility makes it a brilliant ingredient for creative home bakers.
Make Ahead and Storage
Storing Leftovers
Transfer cooled Cherry Pie Filling to an airtight container and store it in the refrigerator. It stays fresh and delicious for up to 5 days, so you can plan ahead for parties or simply enjoy a spoonful throughout the week.
Freezing
For longer storage, Cherry Pie Filling freezes beautifully! Pour it into freezer-safe bags or containers, making sure to leave a little headspace for expansion. Label it with the date and freeze for up to 3 months—thaw in the fridge overnight before using.
Reheating
If you’d like your Cherry Pie Filling warmed up for pancakes or other desserts, just reheat gently in a saucepan over low heat, stirring occasionally. Add a splash of water if it looks too thick, and you’ll bring it right back to its perfect consistency.
FAQs
Can I use frozen cherries instead of fresh?
Absolutely! Frozen tart cherries make a fantastic substitute. Just use them straight from the freezer—no need to thaw first—and follow the recipe as written. You may need to simmer them a minute or two longer to release enough juice.
Is it possible to reduce the sugar in this recipe?
You can adjust the sweetness to your liking. Try using 3/4 cup sugar for a more tart Cherry Pie Filling, but keep in mind that sugar also helps with texture and preserving the filling.
Can I make Cherry Pie Filling in advance?
Definitely! Make it a few days ahead, store it in the fridge, and enjoy less stress on baking day. It also means you can savor homemade cherry desserts any time the craving strikes.
Why did my filling turn out too thick or too thin?
If your Cherry Pie Filling is too thick, stir in a splash of water or cherry juice. If it’s too thin, simmer it a bit longer or add a touch more cornstarch mixed with water until it reaches your desired consistency.
What else can I use Cherry Pie Filling for besides pie?
This filling is wonderfully versatile. Use it on cheesecakes, pancakes, ice cream sundaes, or as a filling in turnovers and breakfast pastries—anywhere a spoonful of fruit and flavor will brighten up your dish!
Final Thoughts
If you’ve never tried making your own Cherry Pie Filling, I hope this guide inspires you to enjoy the process and taste the incredible difference. There’s something special about creating it from scratch, and your desserts will shine with every ruby-red bite!
PrintCherry Pie Filling Recipe

This homemade cherry pie filling is bursting with juicy, tart cherries in a sweet, thick syrup. Perfect for filling pies, tarts, or even as a topping for ice cream!
- Prep Time: 10 minutes
- Cook Time: 20 minutes
- Total Time: 30 minutes
- Yield: 1 pie filling 1x
- Category: Dessert
- Method: Simmering
- Cuisine: American
- Diet: Vegetarian
Ingredients
Filling:
- 4 cups pitted tart red cherries
- 1 cup white sugar
- 1/4 cup cornstarch
Instructions
- Gather the ingredients. Prepare all the necessary ingredients as listed.
- Cook the cherries. In a saucepan over medium heat, cook the cherries until they release their juices and come to a simmer, stirring often, for about 10 to 15 minutes.
- Prepare the sugar-cornstarch mixture. In a bowl, whisk together the sugar and cornstarch until well combined. Pour this mixture into the hot cherries and juice, stirring until fully mixed.
- Thicken the filling. Simmer the mixture over low heat until it thickens, approximately 2 minutes. Remove from heat and allow it to cool before using as a pie filling.
Nutrition
- Serving Size: 1/2 cup
- Calories: 160
- Sugar: 20g
- Sodium: 5mg
- Fat: 0g
- Saturated Fat: 0g
- Unsaturated Fat: 0g
- Trans Fat: 0g
- Carbohydrates: 40g
- Fiber: 2g
- Protein: 1g
- Cholesterol: 0mg
Keywords: cherry pie filling, homemade pie filling, cherry dessert

